Showing posts with label 2014 Finishes. Show all posts

Wednesday, December 1, 2021

HO HO HO-LD ON!

Yes, its' been a SWELL time making my
Vintage Santa Quilt top. 
I am always late to the sewing party, as
this design came out a couple years ago.
I don't care....it's timeless.

As always, I began with cutting and labeling.
I decided to use a dark charcoal gray fabric
for the background.


Sewing the HO HO HO letters was fun and quick.
Labels help!


My H Letters all in a Row!


Here you can see the dark charcoal gray background.
I love all these vintage inspired prints.


The O letters were soon finished.


Then the HO blocks came together nicely!


It didn't take long for the top to be pieced.
I love an easy and quick quilt top!
I put my least favorite fabrics (hard choice) in the
bottom left corner.. The huge Santa will be appliqued over them
and they get cut away.


 The HO-LD ON comes into play now. 

The Santa needs to be appliqued onto the top.
I think the glue used for Lauren Heiney collages would work well! 
The fabric behind the Santa will need to but trimmed out.

The Santa Panel is HUGE! 60 x 52 but Santa gets trimmed down.
You can place him on the top however you like.

Kim Hensley and I will get together and do that part next year,
Our plates are pretty full right now. 

She wants to investigate long arm quilting ideas for this quilt. 
I am OK with that!  


Friday, September 17, 2021

Christmas 2021 Plaidish WIP


I apparently love plaid and Christmas.
Therefore a Plaidish Christmas quilt landed on my sewing table.

 I can never seem to get my fill of Christmas quilts.
I have a few on my radar for this Christmas.

I loved the Plaidish quilt pattern by Erica Jackman
@kitchentable quilting.

Wouldn't it be great in Christmas colors!?!
I decided Reds for Dark Value, Greens for Mid Value
and Whites for Light Value.


If you recall...I made one Plaidish quilt about a year ago
using scraps from my stash of hundreds.


I got it all cut and it sat for a long time as a WIP.

Then I went to a quilt retreat.
A perfect project that requires a lot of chain piecing.
 I only have to take one project!
And Dixie, my Featherweight.


There are 63 easy blocks to make.

Reds were my Dark Volume.
20 Blocks


Greens my Medium Volume
31 Blocks


And whites my Low Volume.
12 Blocks


It took me two days to sew the blocks.
Now remember...this was my first retreat in almost 2 years.
Sew I talked and visited a lot!


I waited a little while after retuning home and began to assemble
the blocks onto my design wall. 


And before I knew it...
Blocks were sewn into rows


and rows into the top!


If you want to try and make this very easy scrap quilt...
you can download the free tutorial/pattern here.

Thanks Erica Jackman (@kitchentablequilting)
for such an awesome pattern.

There's also a free Plaidish 2 pattern that I might do.

This will be a quilt for my friend Kim Hensley to quilt on her
new longarm.  She needs my quilts for practice! WIN-WIN!

Are you working on any Christmas quilts yet?


Wednesday, March 17, 2021

FEBRUARY 4 PATCH SLICES

Another Sewcial Distance Quilt top project is done!
This time 3 of us are sewing apart/together!

I am wintering at Ocean Isle Beach, NC
Kim is located in Pickerington, OH
Shirley is located in Evansville, IN


I love me some Kate and Birdie fabrics.
I had this 'Wonder' line and some background in my stash. 
I am making a baby quilt.


Kim is busting her Bonnie & Camille stash.
She pulled 3 charm packs of  ‘Little Snippets’ line for a lap size quilt. 


And my friend Shirley decided to join the fun. 
She cut 5” squares from her stash to make a Queen Size top. 


First step is to sew all the charms into 4 patch blocks.
A nice stack of 2 patches, then into 4 patches
 was quick and easy chain piecing!


Pressing station for my mobile sewing area.


Next step was to ‘Slice’ the 4 patch blocks 
across the center diagonally.


Then I cut the 3” wide background strips at 16” lengths. 
I suggest cutting each sashing strip individually
vs the pattern saying sew 2 triangles to each WOF strip.
I wanted to press the center crease into the strips for lining up the triangles 
to sew one triangle to each side of the strip.

***Missouri Star pattern has thinner strips for this part of the Lattice pattern.
THIS RIGHT HERE is important to make sure the strips fit the block
and not to short. DO NOT switch back and forth!  Right, Kim?


I pulled 2  triangle units for each block making sure they looked nice together.
But I didn't dally to long on matching them up.


Then the chain piecing and pressing began.
4 Patch Slice Block finished with the background sashing in it. 


My pattern suggested trimming blocks to 10 1/2” squares
I did, but might not have to...
Missouri Star pattern does NOT square up the blocks.


And then the blocks were completed.


I made the binding using up any left over 3" strips
 (trimmed to 2 1/2" Binding strips)
Waste not, Want not!

 
There are many ways to layout the blocks for a final quilt top.
Regardless of the pattern. Missouri Star only show the Lattice layout.


Diamond layout

Chevron Layout

Lattice Layout
 
Here are the finished tops.

I selected a diamond layout and added one border.
It finished at 47” x 57”


Kim used 3 charm packs, added 2 borders 
using the Missouri Star Lattice pattern
Finished at 60” x 70”


Shirley used the Missouri Star Lattice pattern with 2 borders 
and made a queen size top!


All in all it’s a quick and easy pattern.
A great way to use up charms, layer cakes, scraps 
or stash yardage!

You can find The 4-Patch Slice pattern that I used
from Inspiring Creations, right here
Missouri Star skinny strips lattice pattern video/tutorial is here .

Have fun. Both are fast and easy!  

Sunday, January 3, 2021

A SEASON OF HANDMADE GIFTING

2020 was not a year of happiness.
We all struggled to find ways to stay sane.
I looked for ways to make others happy.
I decided to go thru my handmade items and give some away.
There is no magic number to decide who gets one of my treasures.
..they have somehow touched my life in a good way.

Most of these items were left on the doorstep of the
recipients with a note, Made by Mrs. Claus.
She is one happy lady when she gets to sneak around
and pay it forward!

I made quilts for 2 little guys, children of a social worker
who helped my sister find a new happy life in 2020.
Meet Caleb 3, and Joey 6


My best friend Shirley, has battled Breast Cancer all year.
She is a quilter, loves Christmas Trees and commented on social media
how much she LOVED this Modern Tree Blocks quilt.


Of course, I sent it to her just before her mastectomy.
It has kept her warm during her chemo infusions.
I am thrilled to say, after this treatment...
her tests show she is free of all cancer cells.

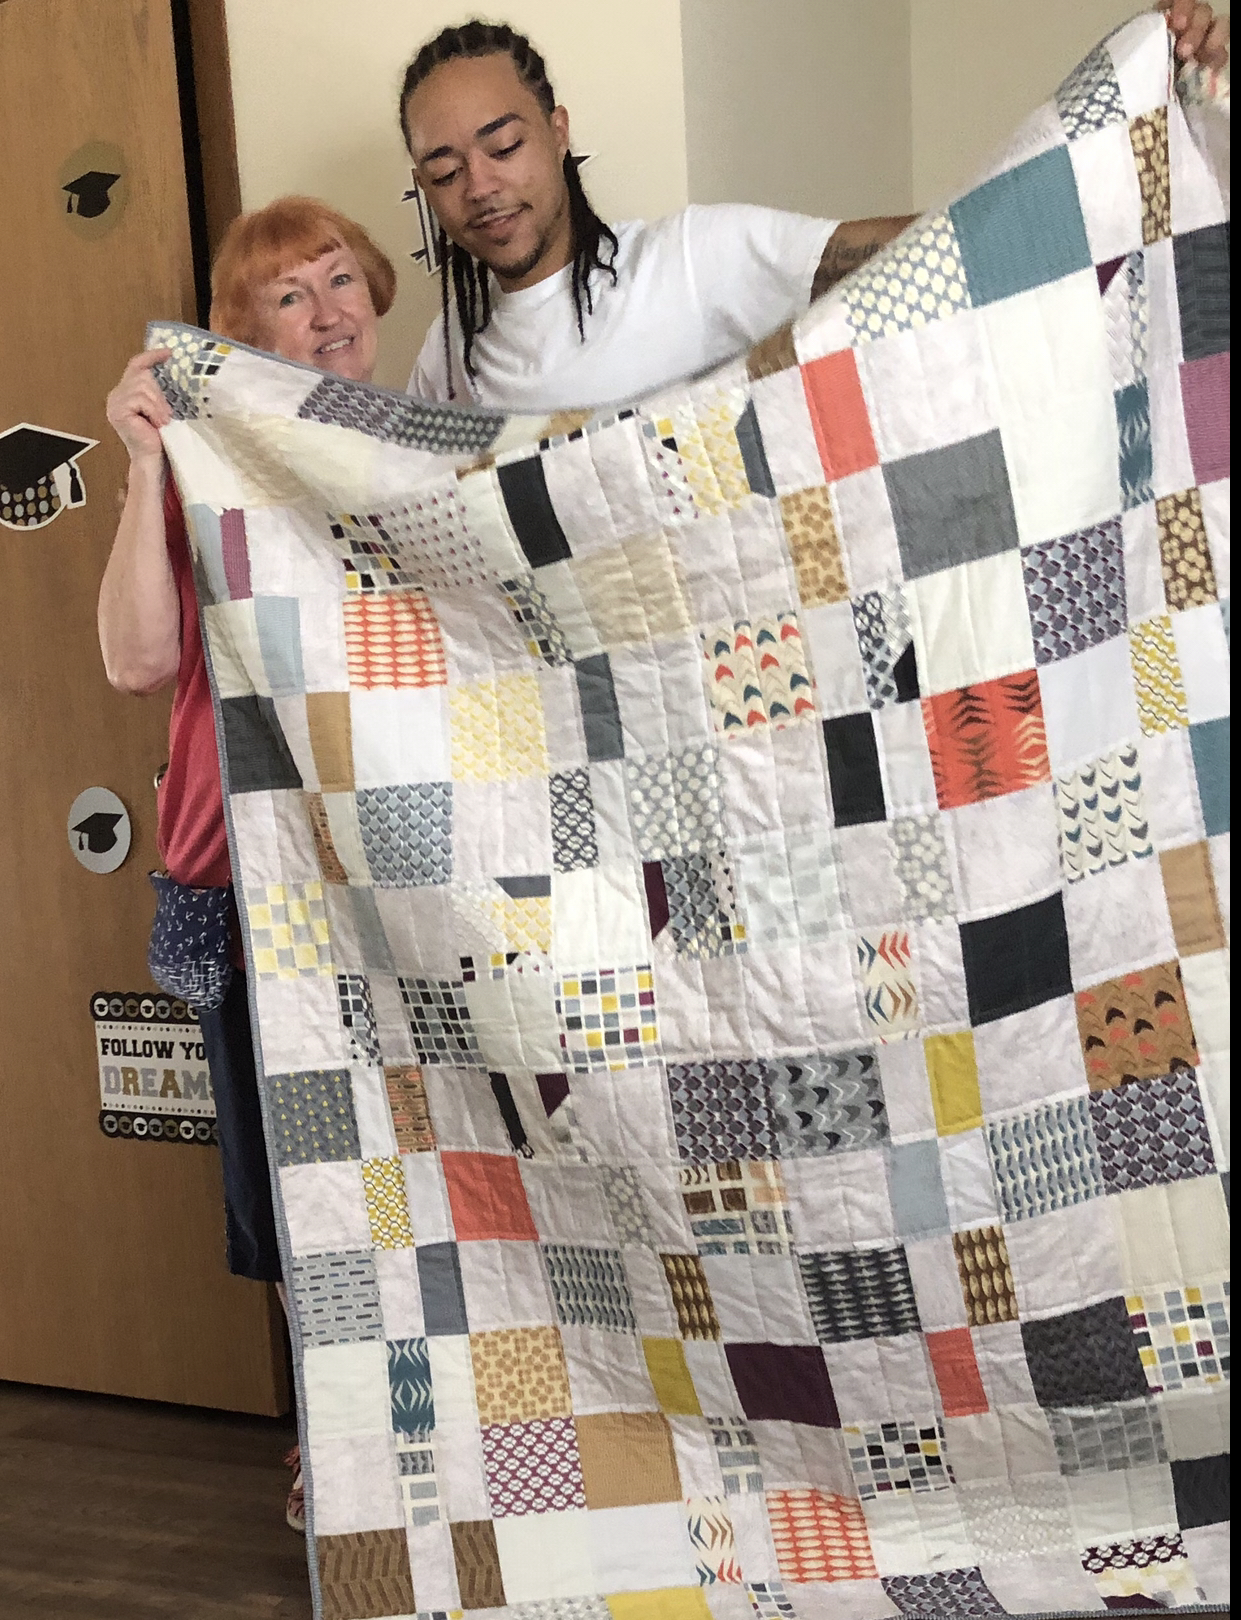
My Grandson, Deavaughn, graduated high school in 2020
Sew I made him a quilt.


He loved it !


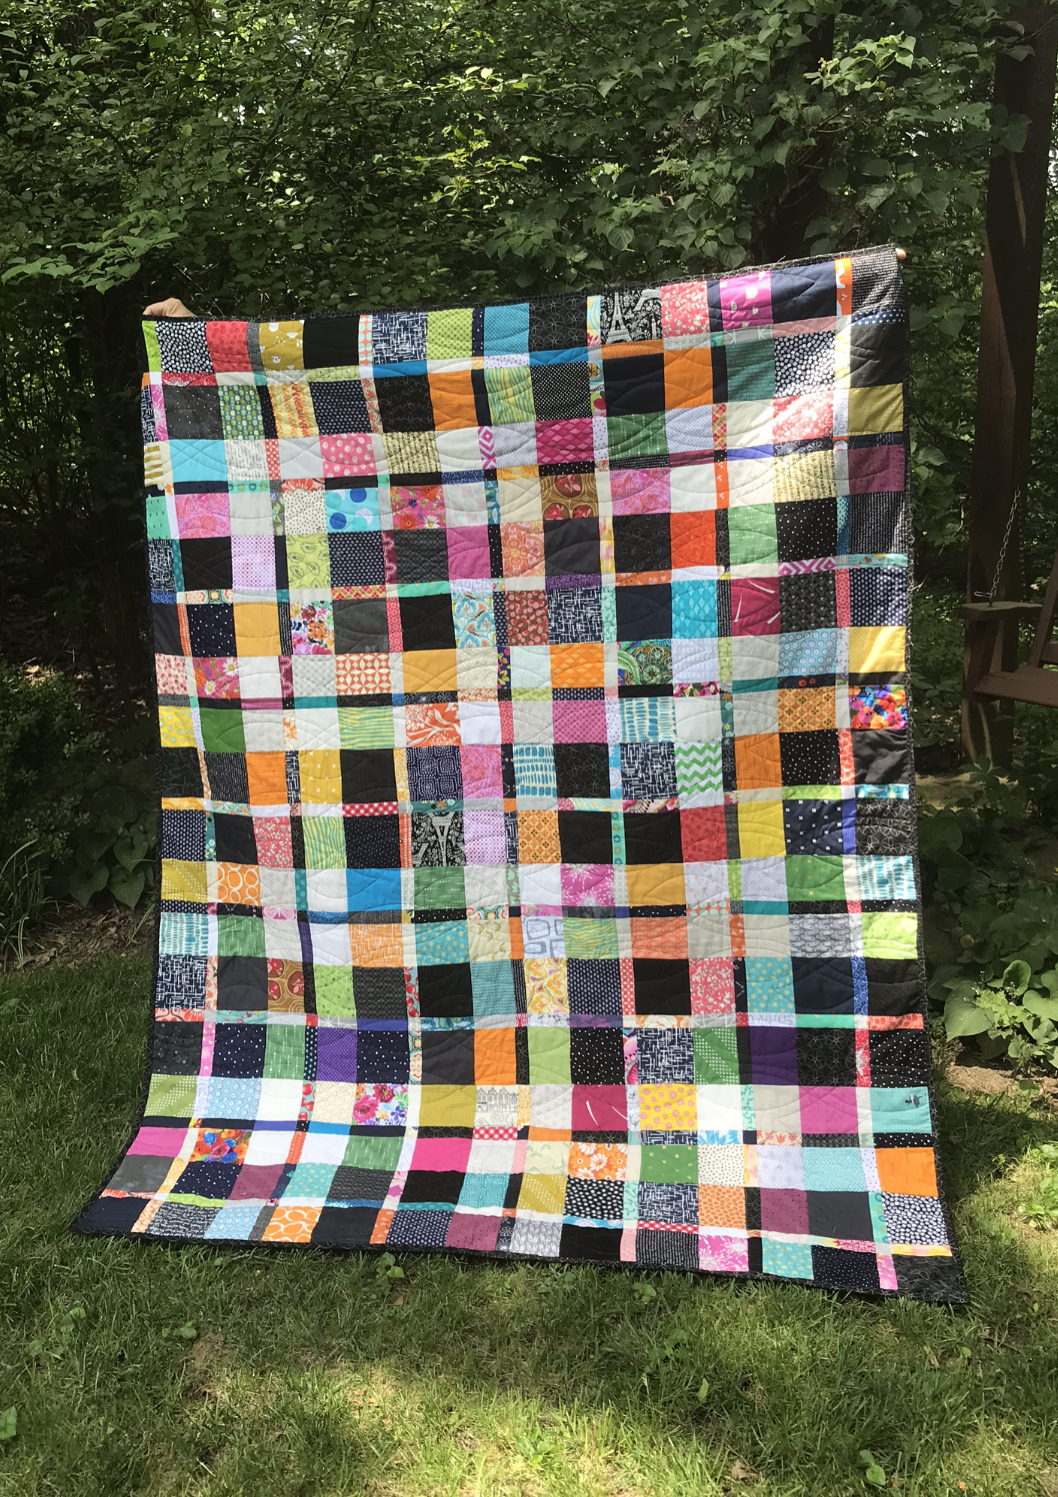
My niece, Brenda Mahr, received this fun quilt I made many years ago.
She has 6 grandkids and I thought this was the perfect "picnic quilt"


Brenda is happy she now has one of my quilts.


Another niece, Lisa Smith, received a nice size lap quilt.
Another older quilt full of batiks in autumn colors.


Linda Mash, a friend from skiing to Buckeye Football to 
a love of beautiful gardens, with years of fun and a laughter.
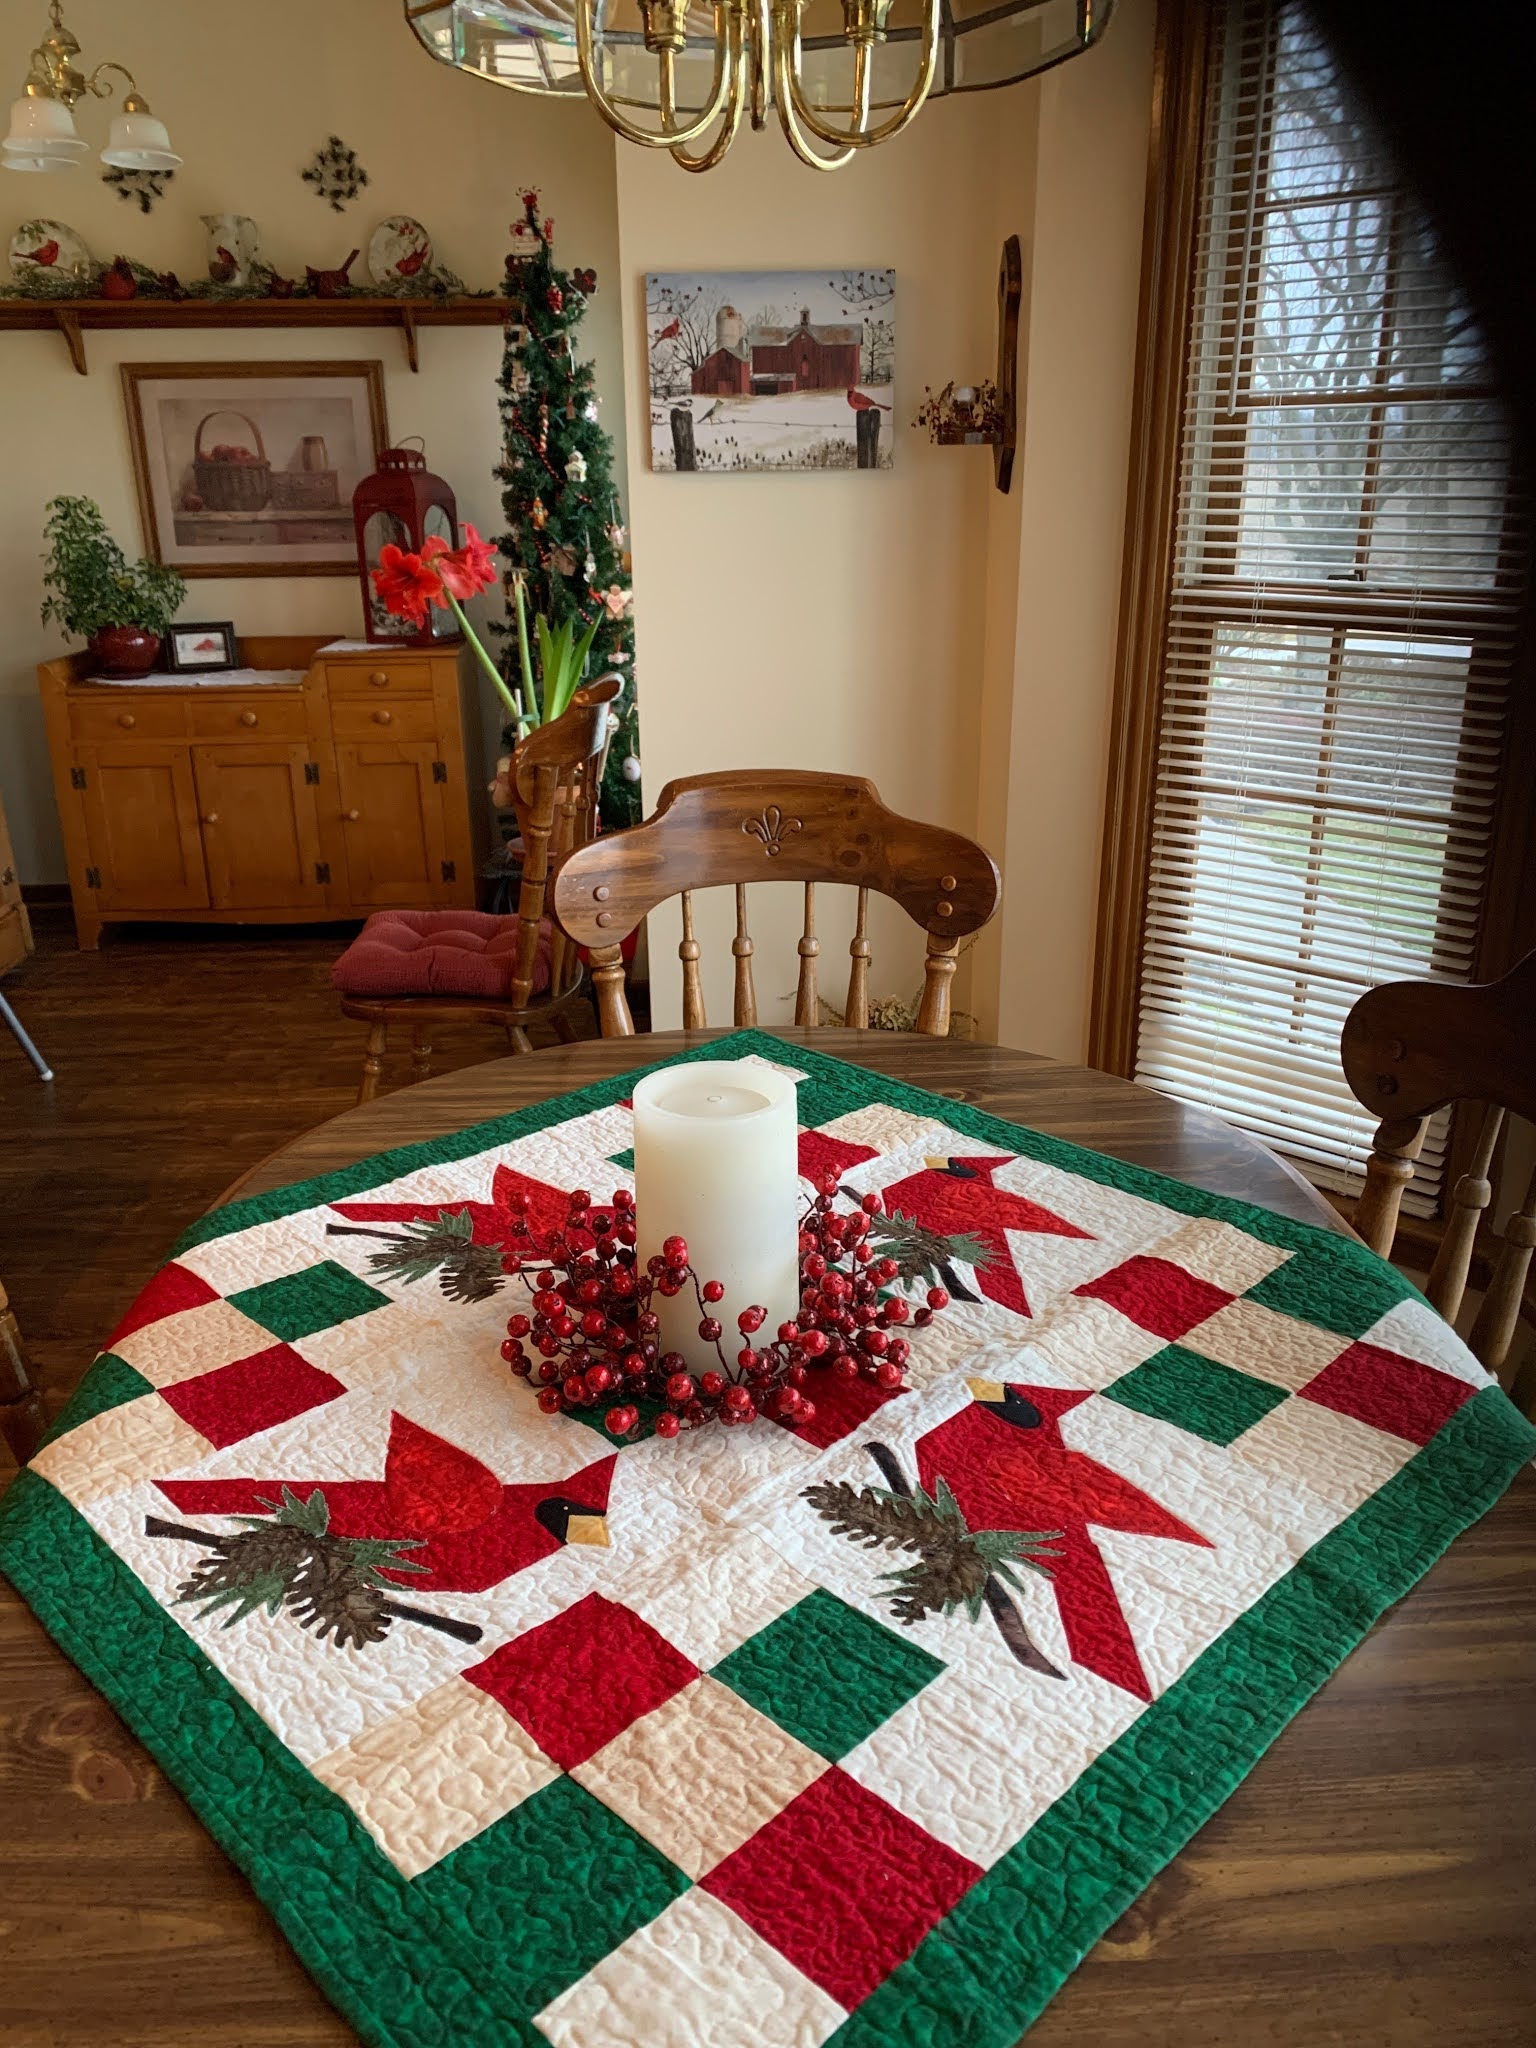
I thought this table topper of cardinals was perfect for her.
She has a red bird Christmas tree and these
birds have flown around my house for years.


Look where they landed... on Linda's table.


Connie Emerson, another gardening friend has supported
my art over the years by commissioned quilts and cards from me.
This One Block Wonder quilt reflects colors she loves.
A Holiday print called A Partridge in a Pear Tree
a kaleidoscope of wonder.


Again, tables are a perfect place to display a lovely quilt.
Connie knows just the right way to make all things beautiful.


Another gardening and Outlander friend, Cherie Kaye
was very happy to receive this table runner, Gift Wrapped.


Fits her kitchen island and covered by lots of food!


Another gardening friend from Inniswood, Nancy Freeland
received a project bag.  Her work with penny rug wools is amazing.


I have lots of knitted scarves that I don't wear.
Some of those were gifted in 2020 as well.

This pretty blue and gray cowl went to my niece, Melissa Gordon.


One of my good card making friends, Vikki Almos,  received
"Letters From Russia"


Mary Jo Perry, an Inniswood Volunteer with me, 
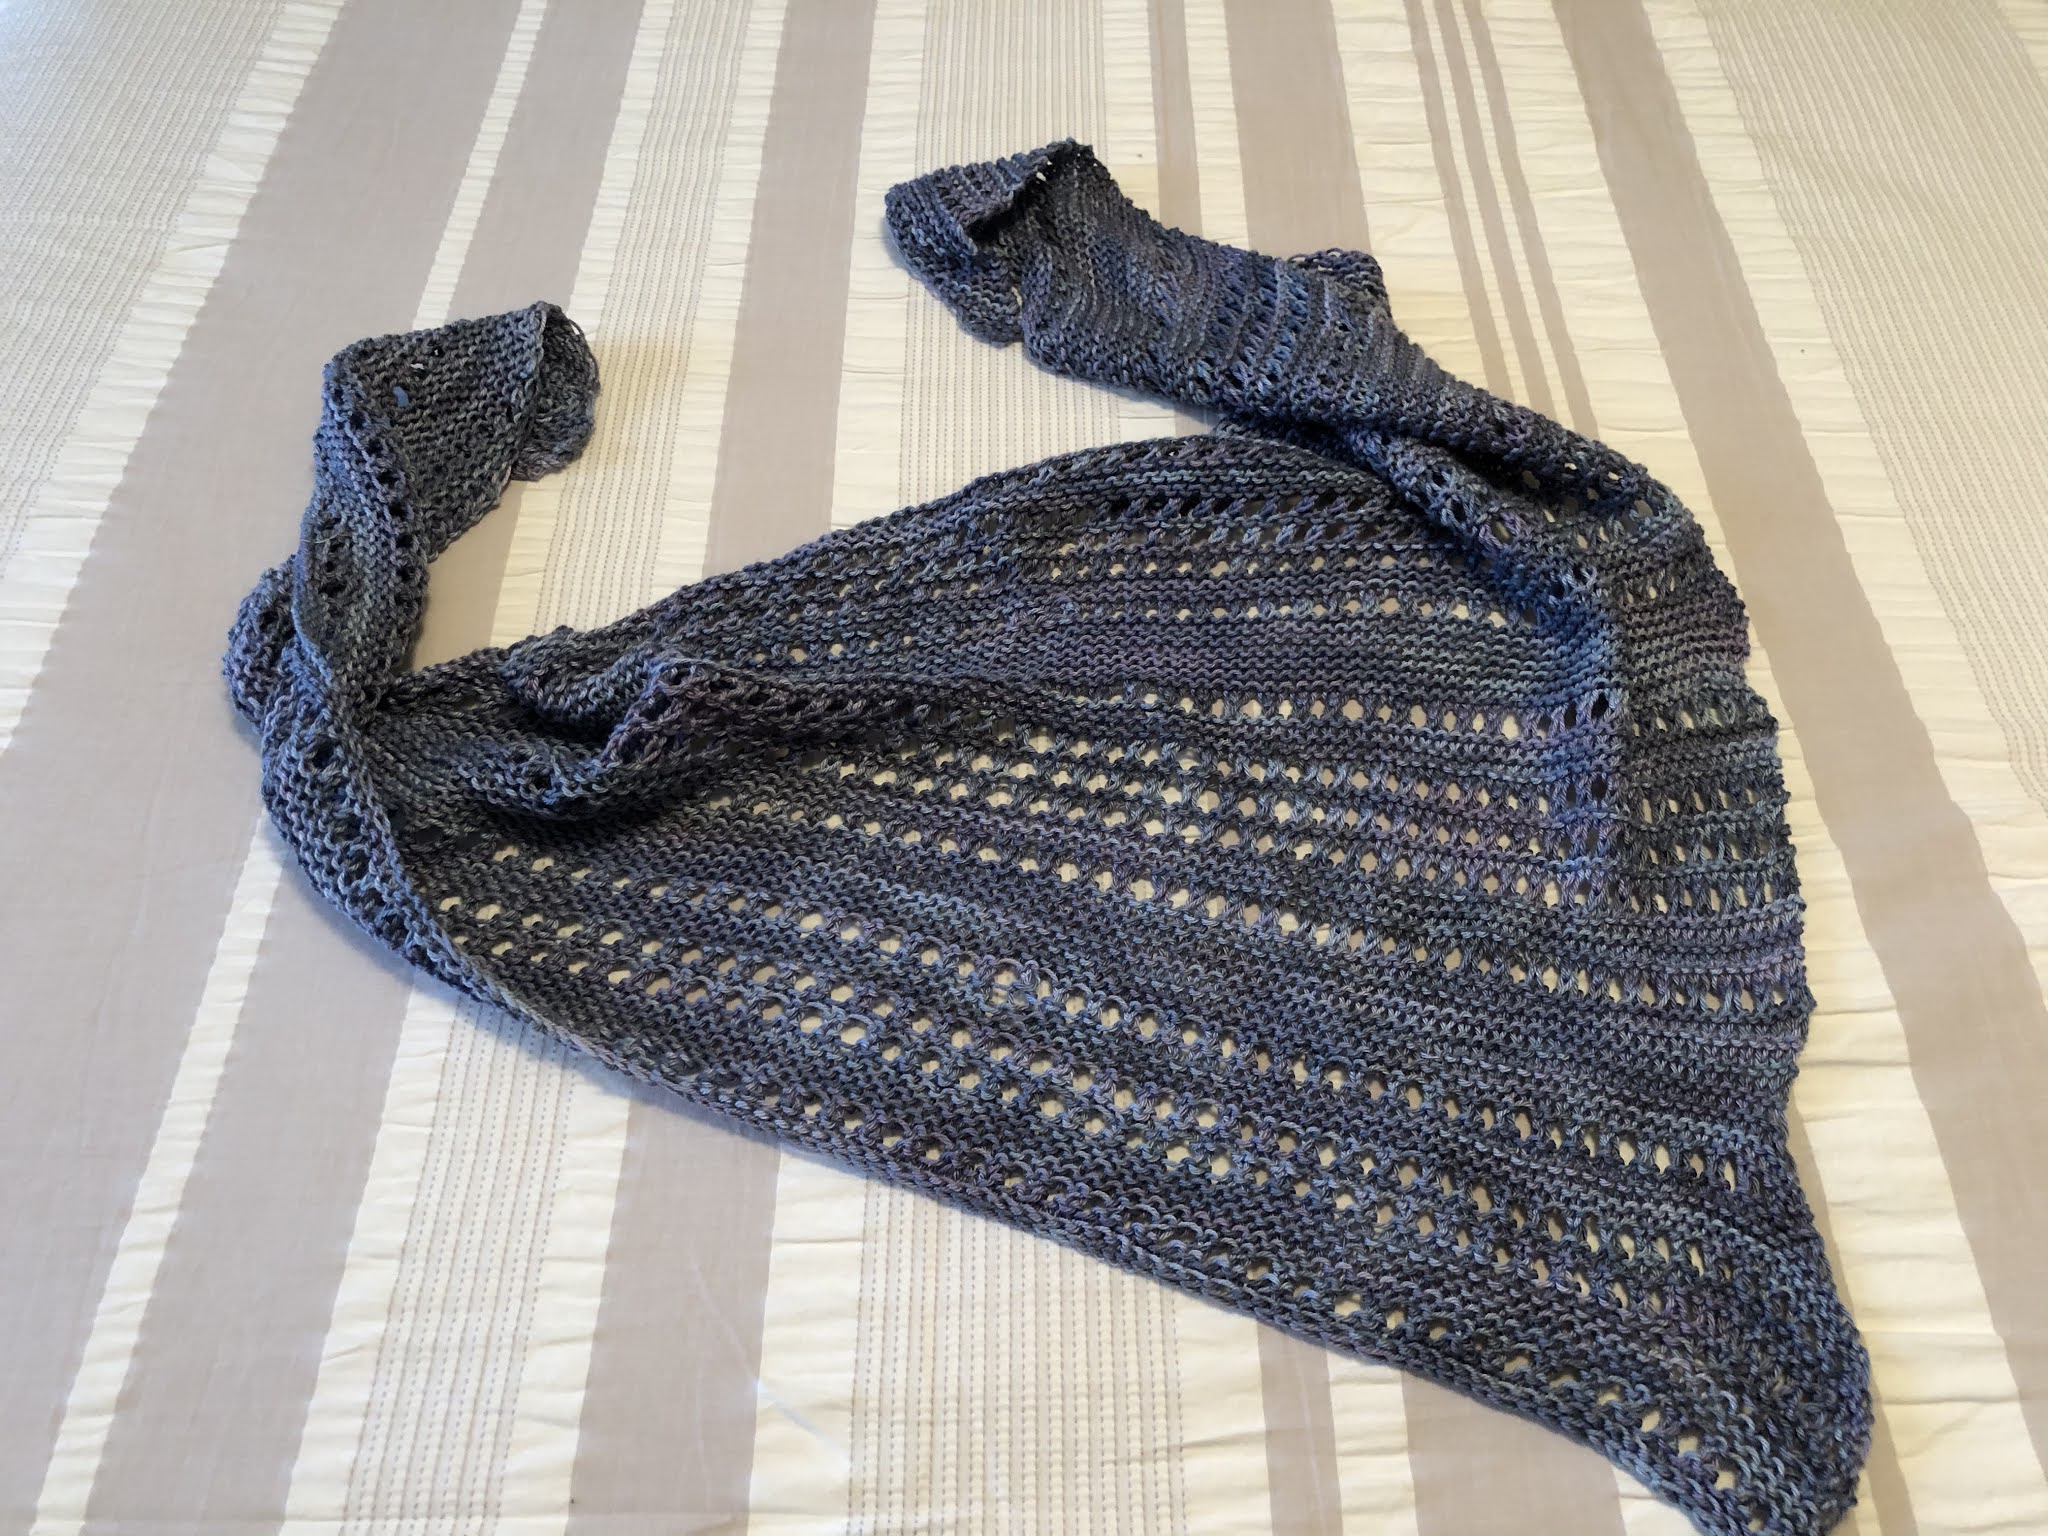
and a BUCKEYE fan will enjoy this gray HITCHIKER scarf


This scarf called Pretty Basic was gifted to my
Step-Daughter, Tamie Gordon


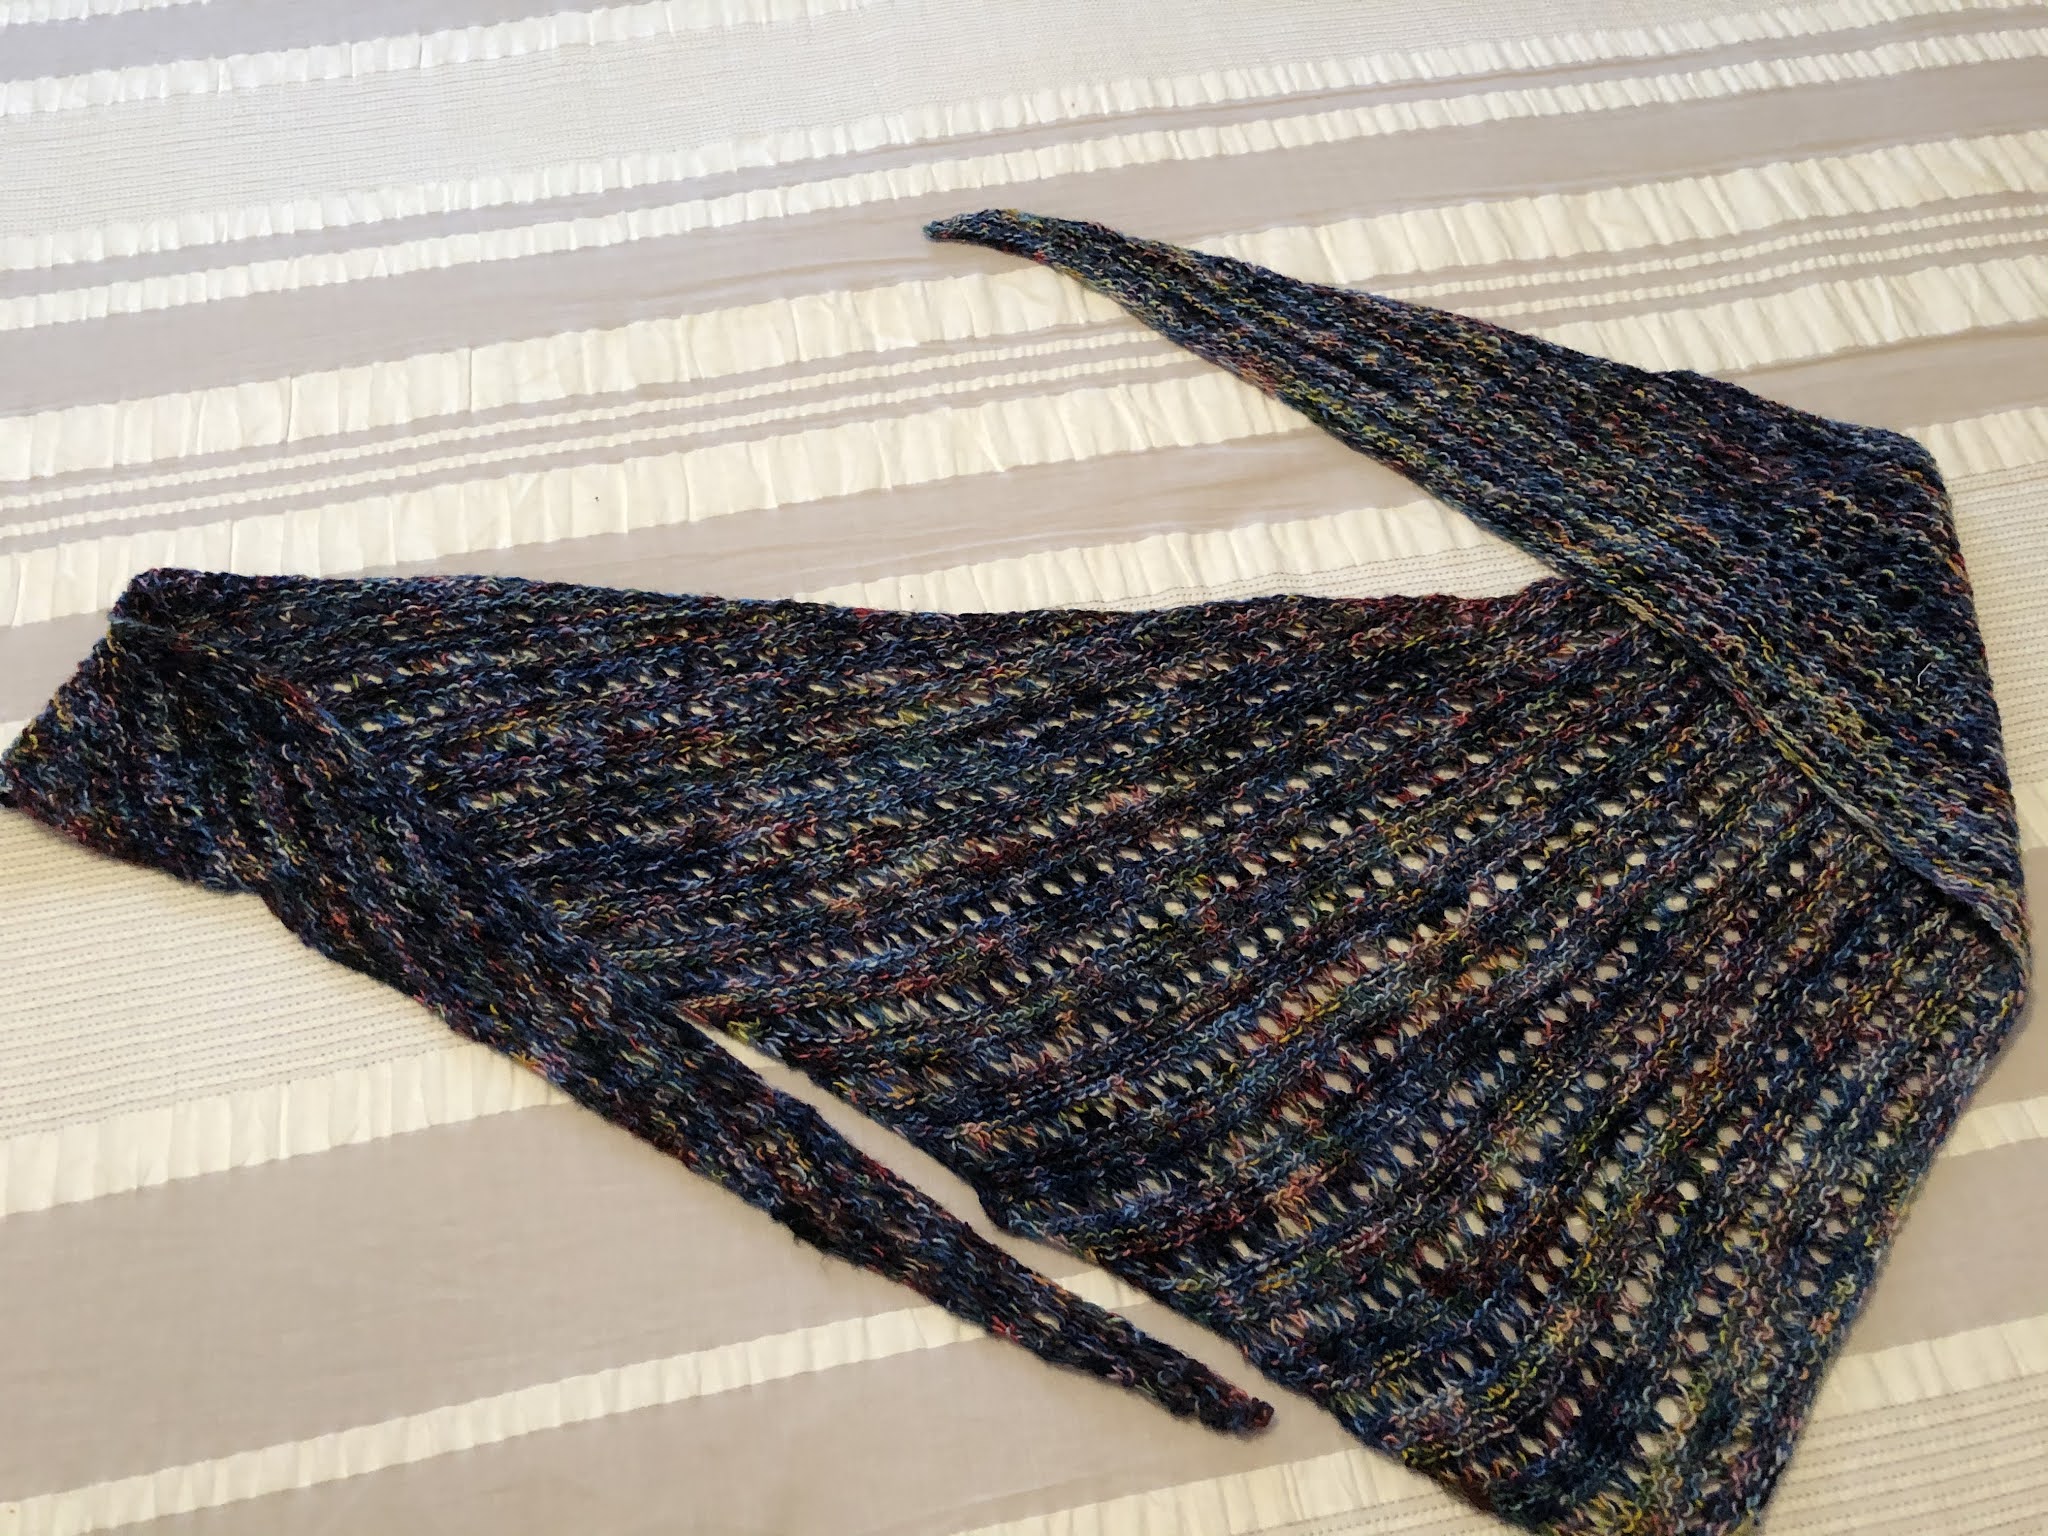
This autumn color Brickless scarf was gifted to 
my RED HAIRED hairdresser, Trish Henderson


This scarf now graces the neck of my Granddaughter, Ashleigh


And of course lots of cookie tins went out my front door to family and friends.
I also sent cookie recipe books so they can begin their own cookie baking traditions.


I hope your holiday season was filled with gratitude and gifting.
Mine sure was!

Here's to 2021 with lots of decisions of what to give away next!