Do enjoy making backs for you quilts?
Do you challenge yourself to use fabric in your stash?
I think 1 fabric backs are boring!
I dug thru my stash and found several yards
of a print I had forgotten all about.
I bought this several years ago and stored it
with a bunch of Halloween prints.
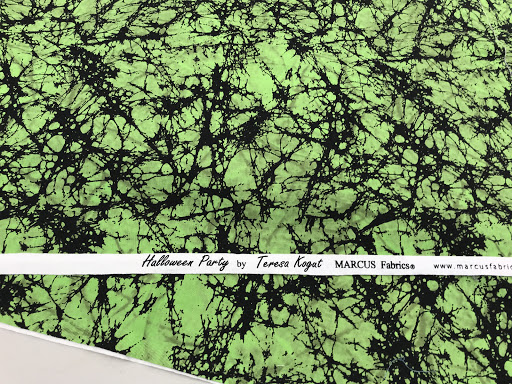
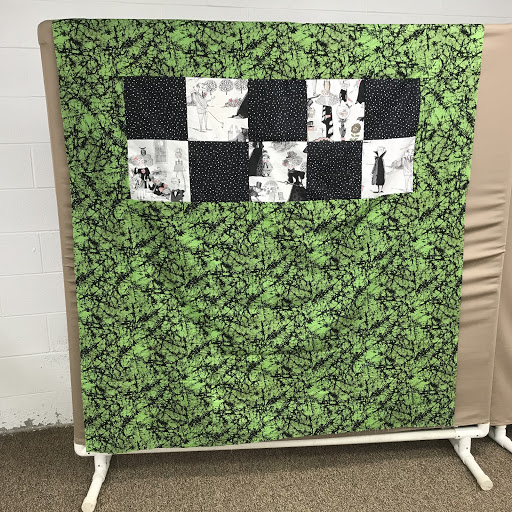
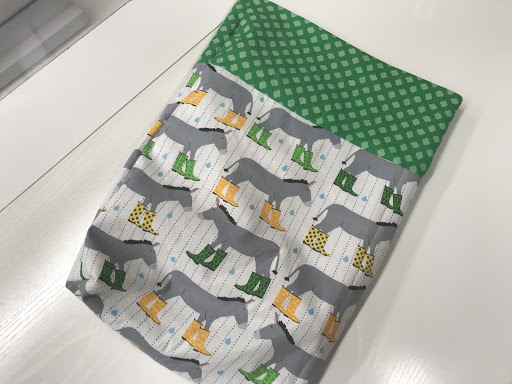
Its quite perfect for
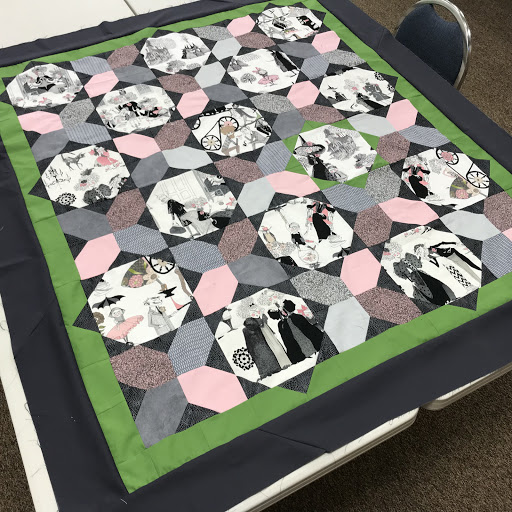
"The Ghastlies Peep Show"
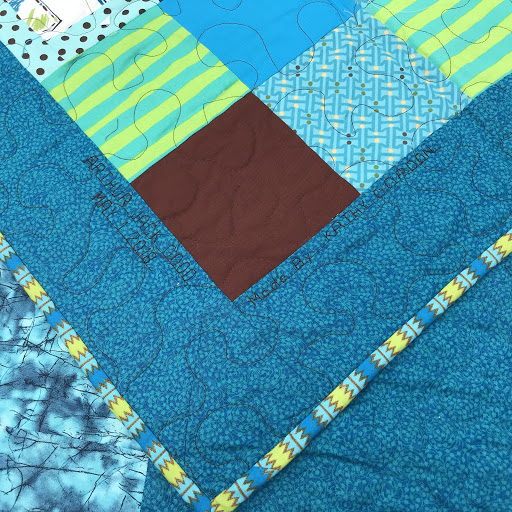
It's the SAME green that I have in the border of the top
I believe our minds
remember the colors we love!
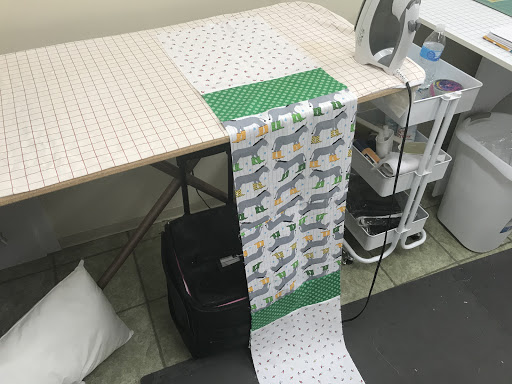
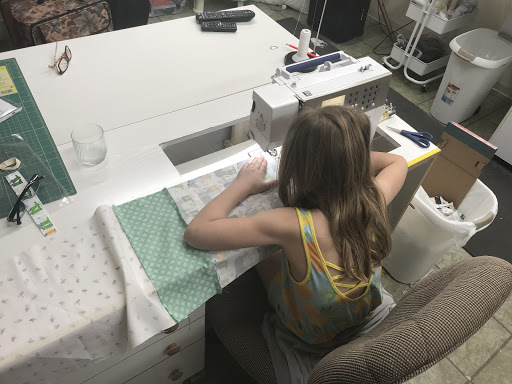
I was at quilt retreat, and before the tables filled up,
I used that space to make several quilt backs.
THIS my friends is how NOT to hurt your back
making backs!
Follow along for a simple way to get creative with your backing.
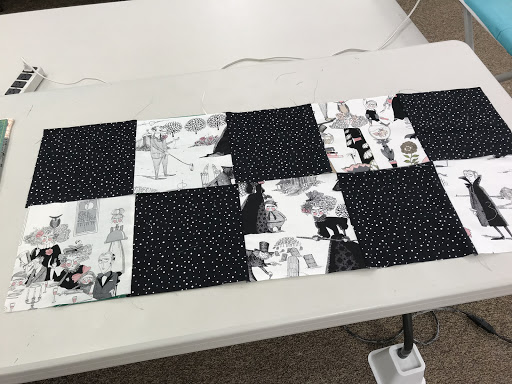
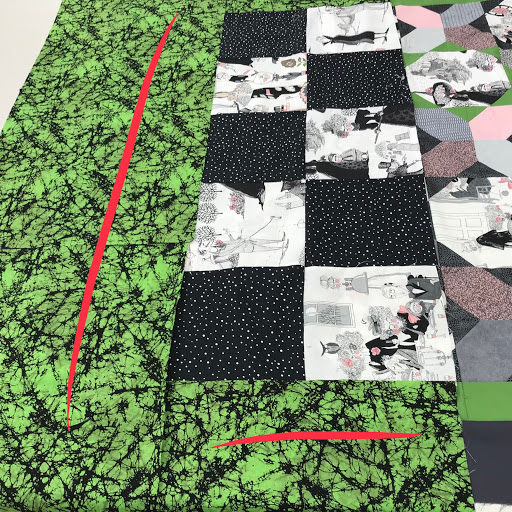
I had some left over 8 1/2' squares not used on the quilt front.
I laid them out and made 8 1/2" squares of black polka dot fabric.
Sewed them all into a checkerboard piece!
To that piece I added side pieces of the backing fabric.
Always extend your quilt back a few inches
beyond the "width" of your quilt.
Add 5 or 6" to both the top and bottom to for length.
Long arm quilters will thank you for that!
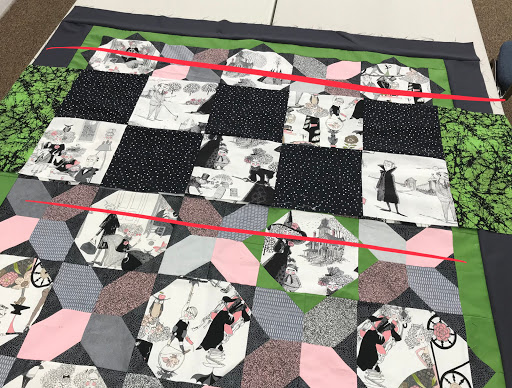
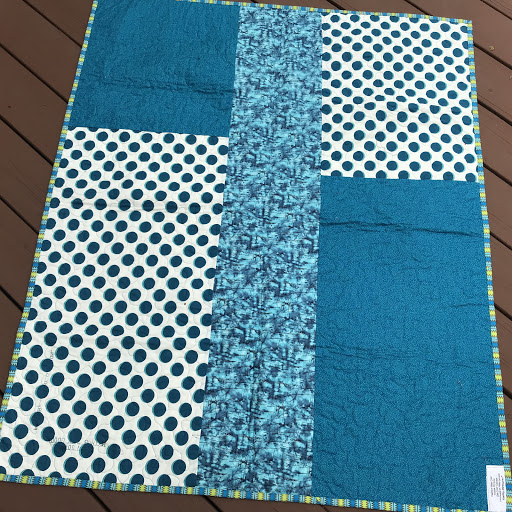
Take a closer look at the side pieces and top piece
sewn to the checkerboard piece.
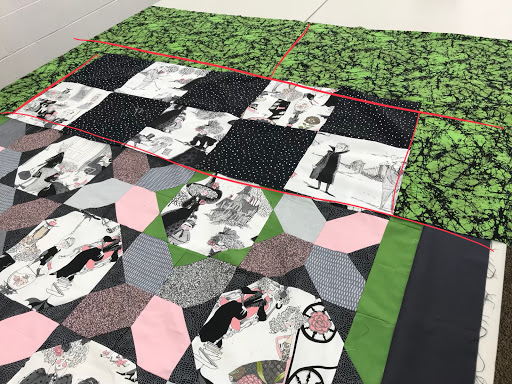
I did have to piece this top section piece
to make it the width needed.
Here's a better look...both sides and the top piece
all sewn and laid atop on top of the Peep Show top.
I'm half done with the backing!
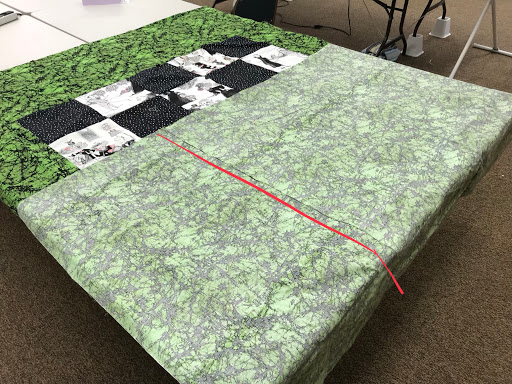
Then I laid the yardage left on the top, letting it hang over.
Easy cutting while it hung over...I snipped a start and then used my
rotary cutter and mat to get a clean even cut.

Here you can see the seam, as I needed two pieces,
sewn together to make the bottom section.
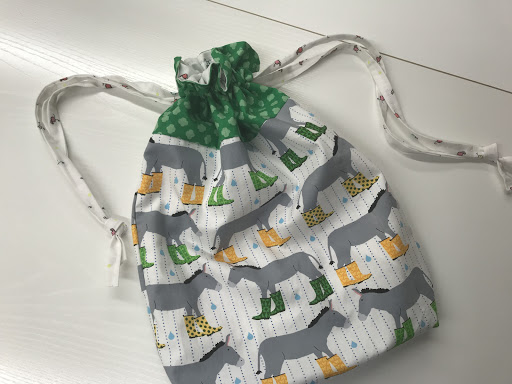
TaDa! All done!
Simple, yet an unexpected, fun surprise
and I was able to incorporate left over blocks
from the front of the quilt!
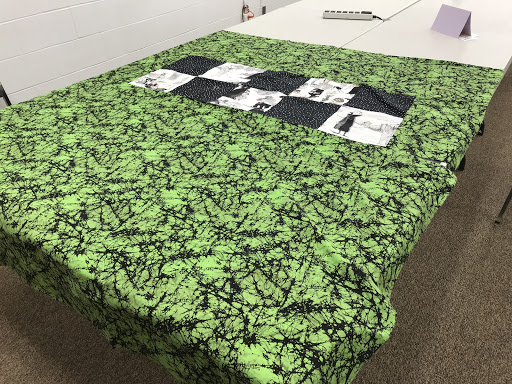
The back...
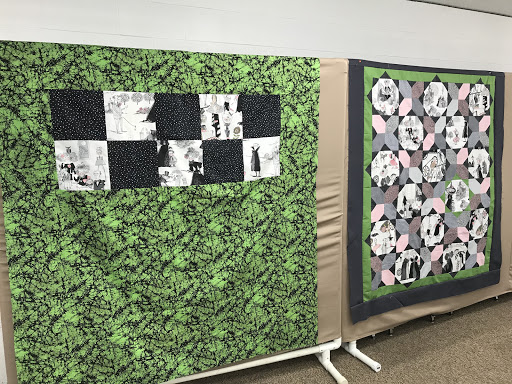
I hung them both on a back wall for a final look.
This quilt is gonna be quilt Ghastlie!
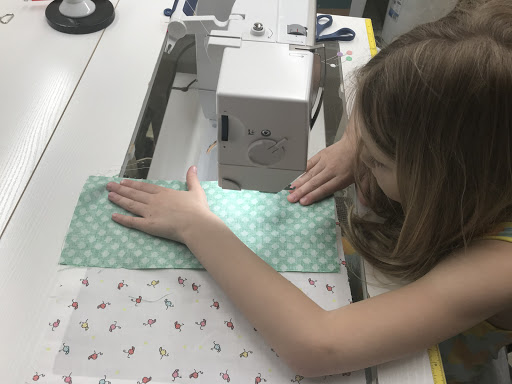
You can get quite creative....
Sometimes I pull FQs and sew them together.
Sometimes I use up pieces of yardage!
I always try to pull something from the front
into the backing.
It's all up to you and your creative journey!
Try it and let me know how it works for you!
When I get "The Ghastlies Peep Show" back from the quilter...
I'll take some great photos and post about it again.
til then...stop dont' break your back...
create it!


 ''
''