
I luv me some FLAMINGOS!
I saw Pinkerton...the Laura Heiny collage pattern and
bought it some time ago.
bought it some time ago.
I didn't have much stash with pink and coral flowers.
Sew...as payment for a trunk show at
The Perry County Sewcial Club
I asked the members to donate scraps to make this Flamingo!
The Perry County Sewcial Club
I asked the members to donate scraps to make this Flamingo!
That being said...I received 44 pieces of fabric
and She will be named "The Perry County Flamingo"
and She will be named "The Perry County Flamingo"

This post is full of tips and ideas for the processes
to make the Flamingo...at least til she's glued and quilted.
Laura recommends using Steam a Seam 2
for the collage pieces. It's a double sided fusible,
re positional and readily available from many stores.
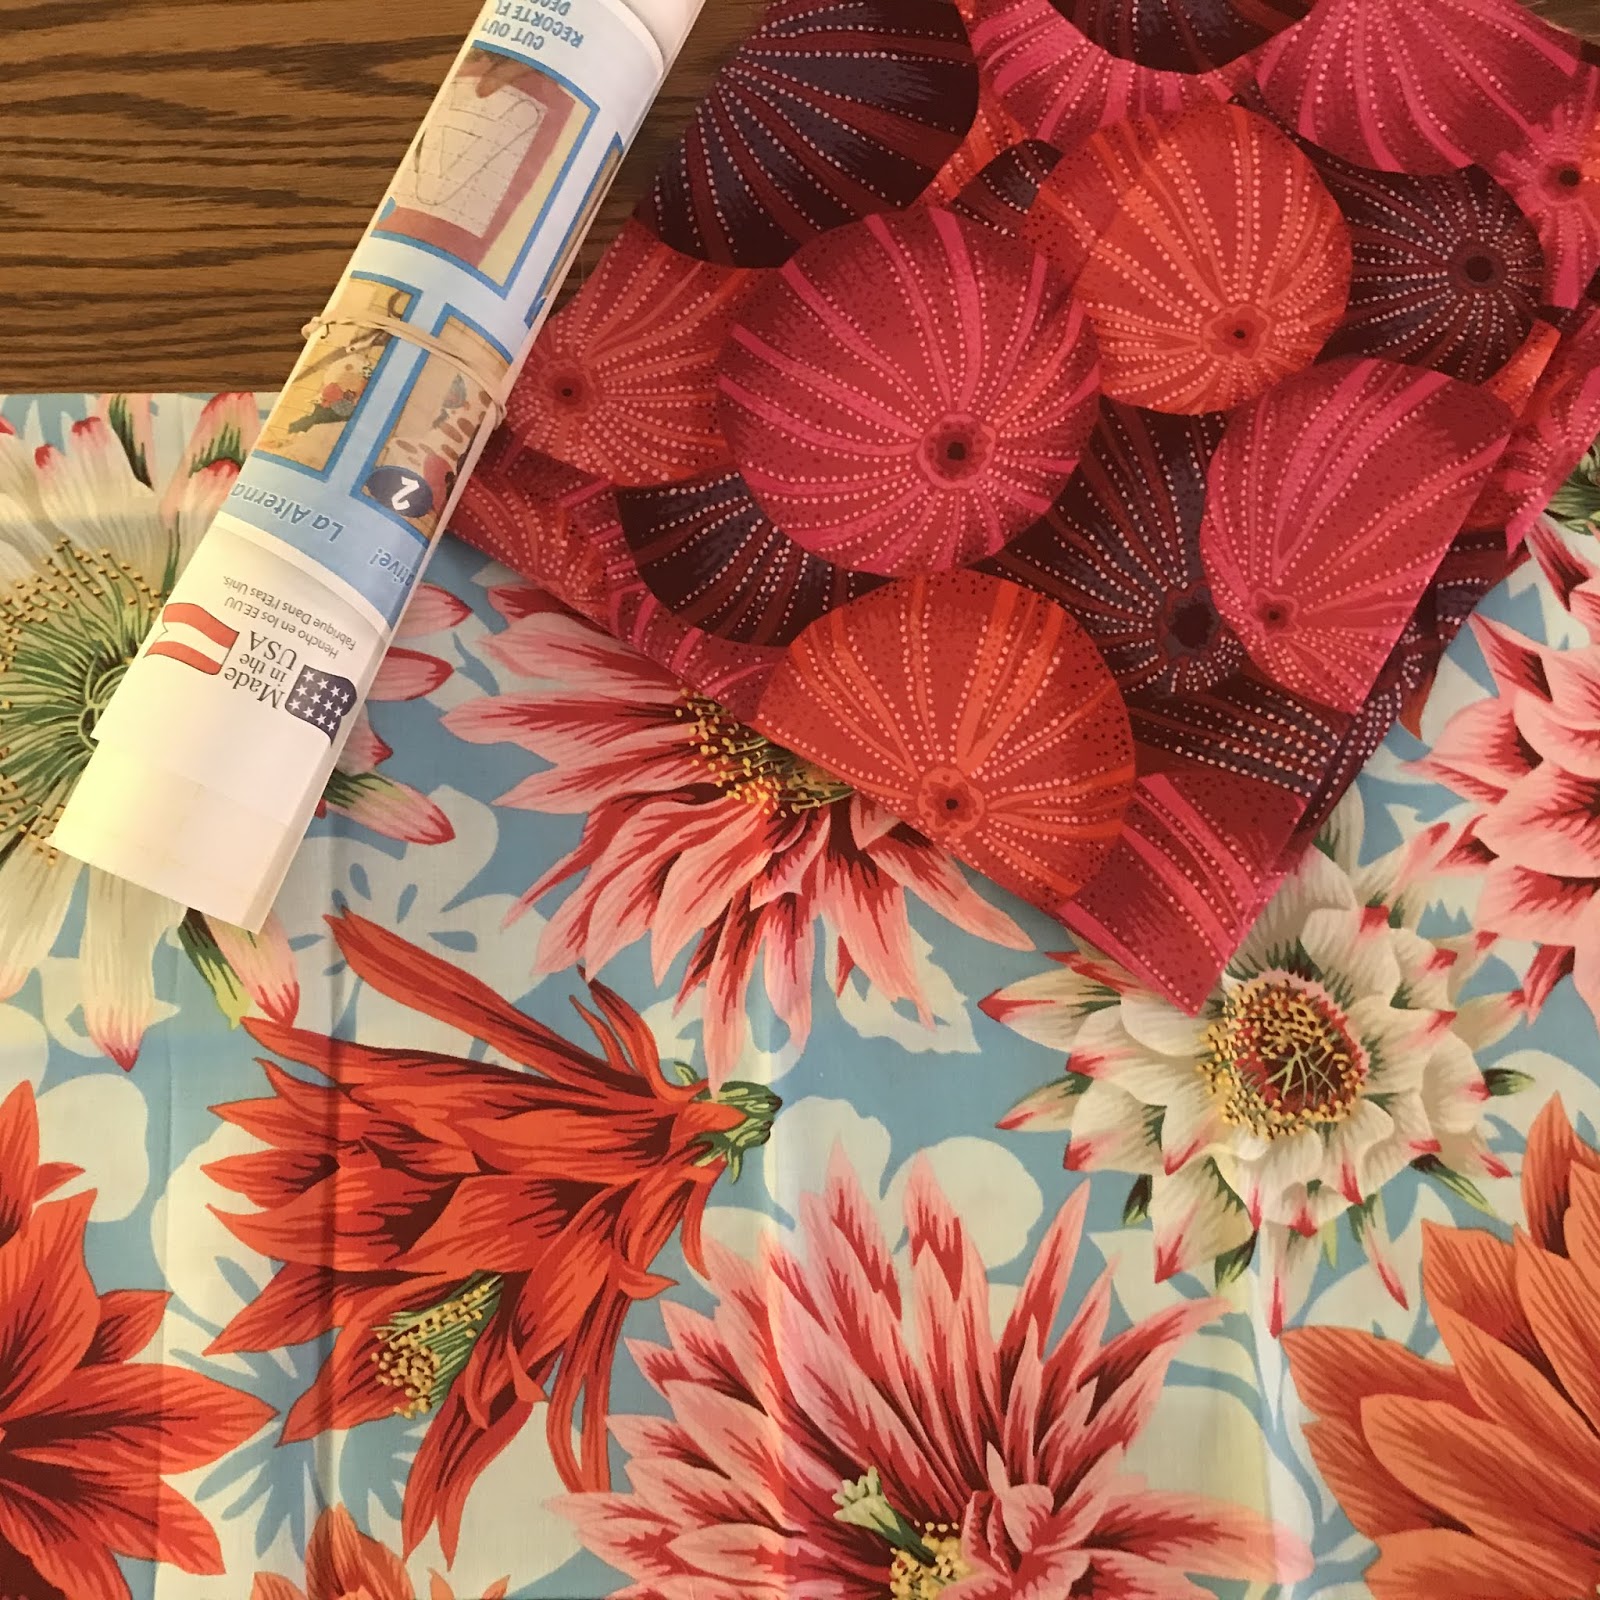
I did pick up a few more FQs for large designs.
These white flowers said wings and tail feathers!
I cut small pieces to begin and fused them..you need lots
of options in size, color and designs.

Because the Flamingo is 6 feet, tall I needed lots of BIG flowers

And I found some!

I made a test piece to make sure I understood
how the steam a seam was gonna work.

I have the Kay Buckley scissors for cutting.
The blades are serrated and keeps fabric edges from fraying.
They aren't cheap..but sew worth it!

Not ideal, but I made it work.
If you don't have a rotating cutting mat...why not?
It's one of the most versatile tools for quilting.

Being in a small condo I wondered where the heck
can I lay out the pattern already drawn
on 'Pattern Ease' and begin pressing down fabrics?
The King Size bed, of course.
It took me 6 hours to get the design where I liked it.

I had to move fabrics around and walked away several times.
Take breaks...don't rush this process!
I placed the wings, chest feathers, legs and neck
pieces that pleased me...not exactly fitting the outline.
Give yourself the freedom to "draw outside the lines"!

I used my wool pressing mat underneath the 'Pattern Ease'
and on top of the bed sheets to steam down the pieces.
Work one small section at at time.

And here she was...ready to be cut away
from the 'Pattern Ease' foundation!
I kept thinking...please don't cut her leg off!
I used the Karen Buckley scissors for this as well!

I did NOT cut along the pattern lines,
but rather I followed the FLOWER designs
to make her look more feathery.
Also note in the pic below how I positioned
the flowers for the wings....not necessarily putting
them exactly where the pattern indicates.
Flexibility is the key to making these collages work.

I have to roll her up (I need a pool noodle)
and take her home to glue her to the finished background.
Fabric Fuse Glue is what Laura uses to glue
your design to the quilt background fabric.
Just run a bead around the edge.
It is stitchable and dries clear. BUT drying time is 6 hours.
I will do this on my a pool table when I get home.

That's all you get for now.
There are LOTS of YouTube videos
on collage quilts. I liked Lauras the best.
When I return to Ohio in April...
The Perry County Flamingo
will continue her stitching journey!

I just love it. I can't wait to see it finished.
ReplyDelete