
Diagonal Quilt Folding Tutorial
After many trunk shows and demos
I decided to write a quick tutorial on how to
and why I fold quilts on the diagonal.
When I do a trunk show for guilds or groups
I ask that members come to the tables after I am finished
and I show them how to fold and then let them help
me fold all the quilts I have just shown!
WHY ON THE DIAGONAL
This helps eliminate the deep folds that batting remembers and will help keep the quilts nice and flat.

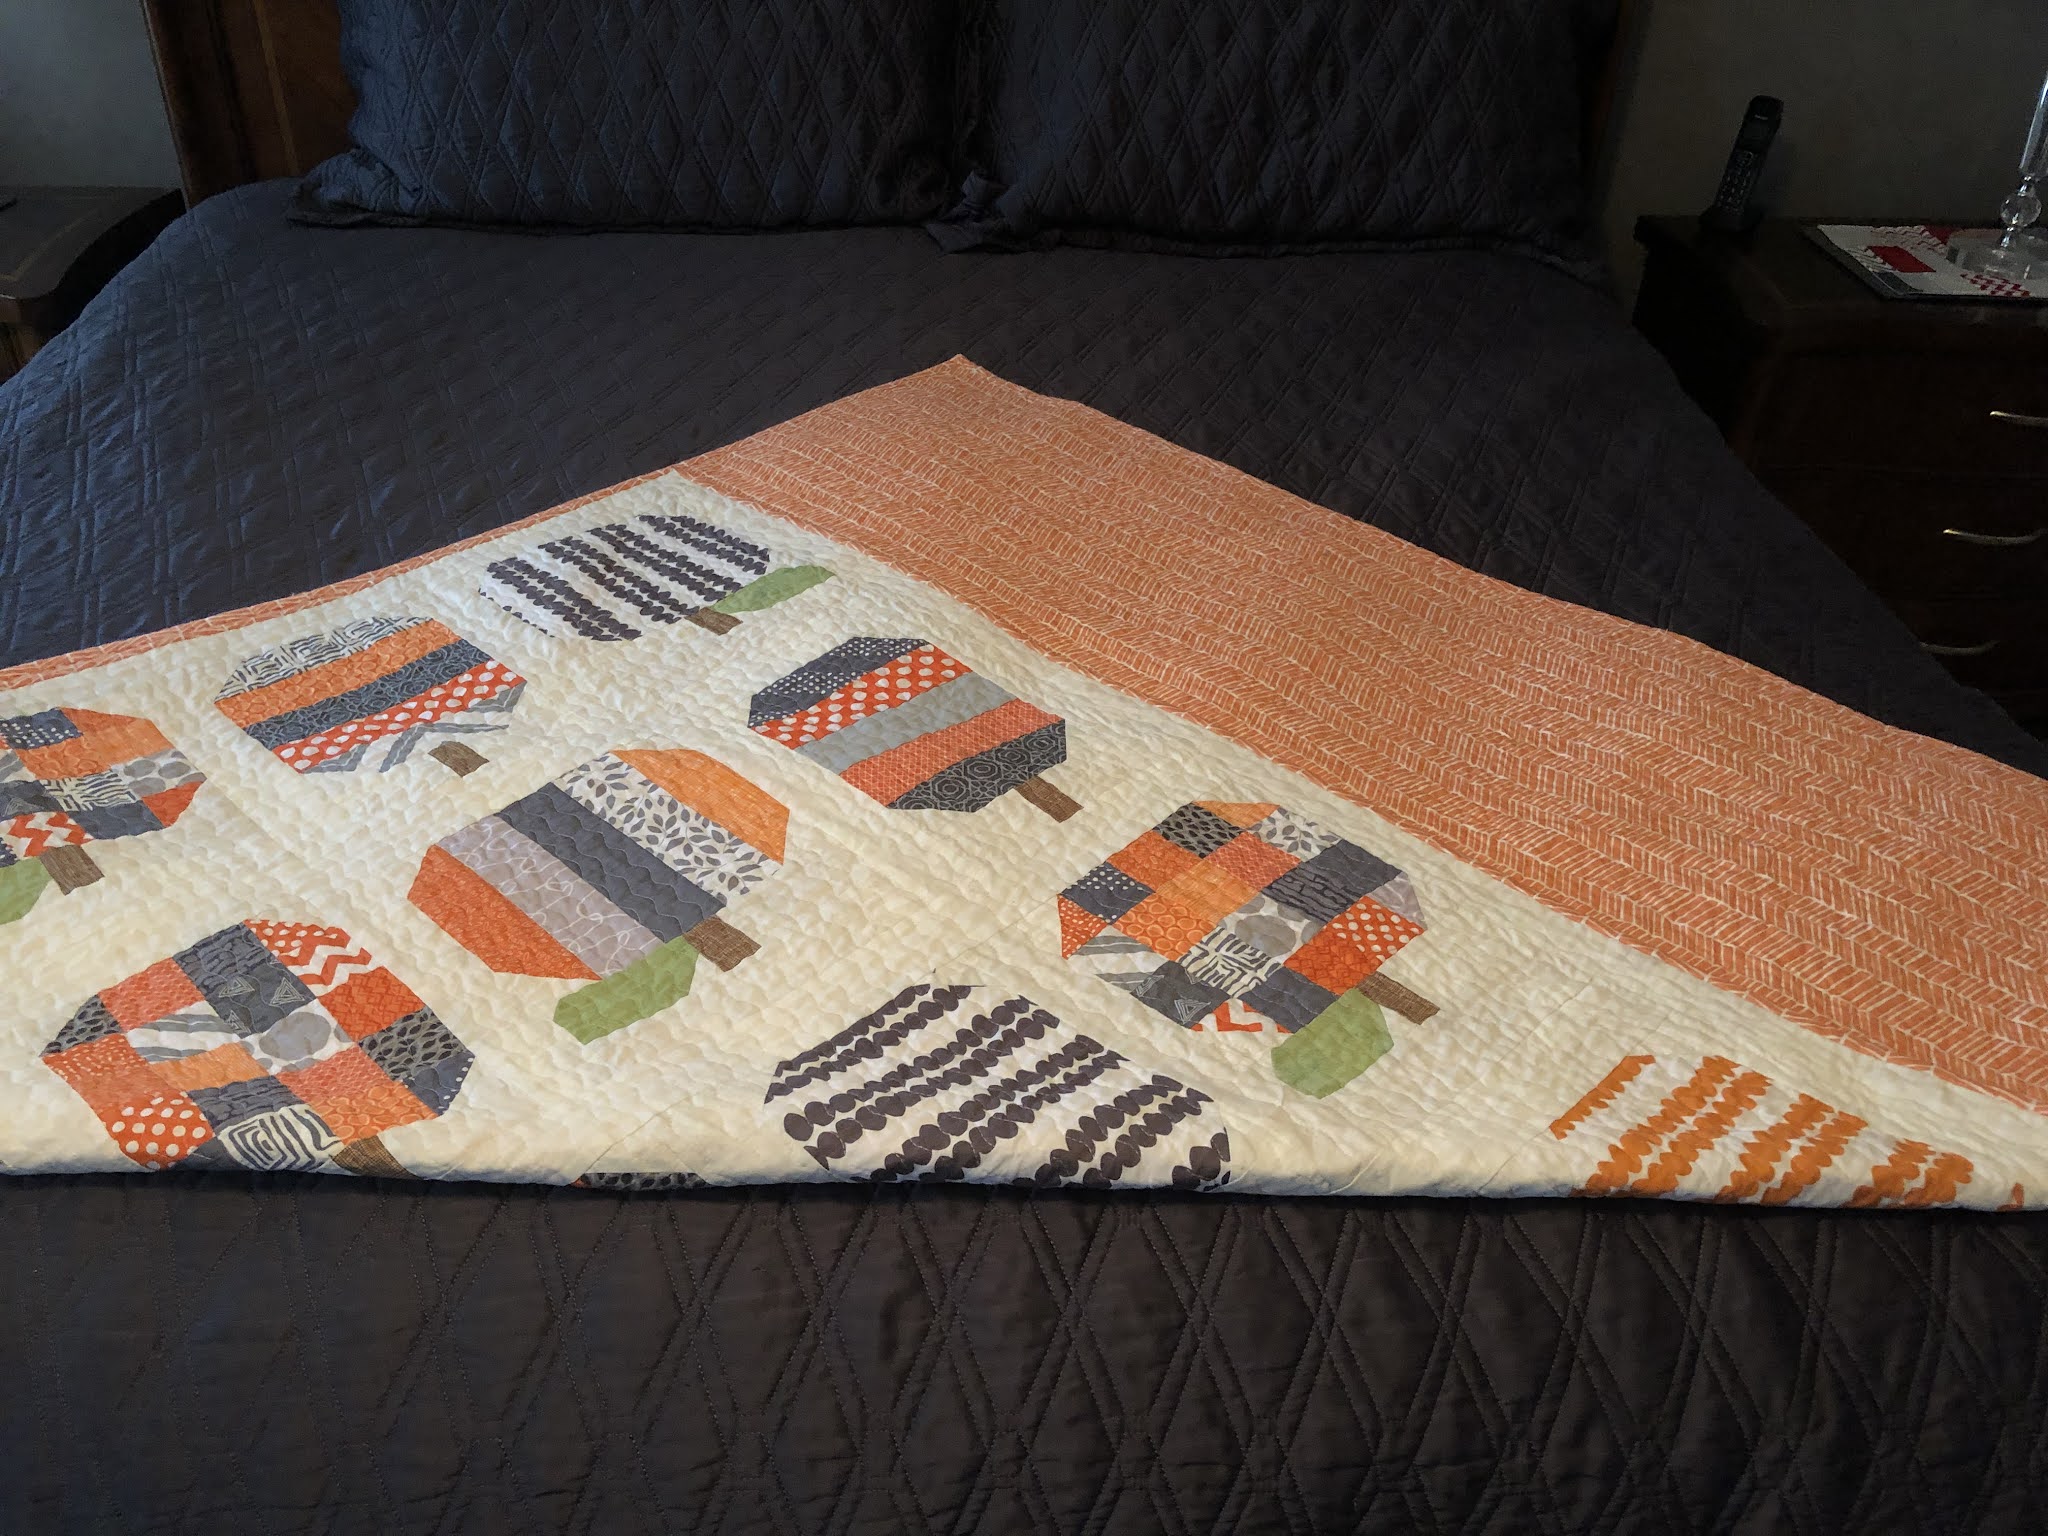
Step 1
Lay quilt on flat surface, top side down.
I like to use a bed.
Step 2
Bring one corner up to the top edge of the quilt.
If the quilt is a rectangle it is NOT a corner corner fold.
A square quilt will be a corner to opposite corner fold.

Step 3
Turn quilt so the fold is at the bottom.
Step 4
Fold top corner down 1/3 of the way

Step 5
Fold quilt down again lining up to the bottom fold

Step 6
Fold one end point in to make edge square

Step 7
Repeat on other side

Step 8
Keep folding in from each side

Step 9
Continue folding quilt in from each side till both
sides reach the middle.

Step 10
One more fold in half to finish the folding.
All folds are now on the diagonal of the quilt
TIPS: Try standing your quilts on a closet shelf vs
laying one on top another. This eliviates stacked weight
which also causes creasing.
Hope you try this!

No comments:
Post a Comment
Thanks for leaving a comment. If I don’t respond...sometimes I don’t get a comment notification. Sorry.