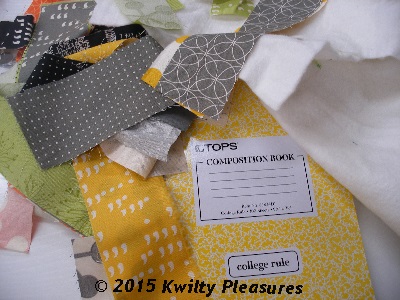
This tutorial will be showing you a fin technique
Called Quilt As You Go (QAYG)
This will be fabric covered journal bit ways to
QAYO are endless.
This is an easy way to make a quick gift.
Please read the entire tutorial before you begin!
UPDATED - September 2024
RSU (Right Side up)
RST (Right Sides Together)
WRU (Wrong Side Up)
Supplies...
- This is a scrappy version for outside journal cover
- Fabric for lining and flaps (scrappy for QAYG)
- Batting and a Composition Book
- Thread
Strips sizes can vary in length and width.

Cut batting piece 15”x 18"
Lay first strip RSU angled at the center across the batting
Lay next strip on top of first strip RST
Sew using1/4" seams
Press open and continue the process,
Alternate sides when adding strips

Press gently

Continue to sew down strip staggering seams as needed,
Pressing each strip.
Continue adding and pressing strips.
Alternate sides when adding strips

Press gently

Continue to sew down strip staggering seams as needed,
Pressing each strip.
Continue adding and pressing strips.
Cover the entire batting piece with strips.
Flip the piece over…
Trim the outside cover to 11 1/2” x 16 1/2”
Flip it back over. This is the QAYG outside journal cover!
Flip the piece over…
Trim the outside cover to 11 1/2” x 16 1/2”
Flip it back over. This is the QAYG outside journal cover!
Cut 2 Inside Flap Pieces 11 1/2” x 16 1/2”
Now you have 4 pieces for the journal
1 Quilted Journal Cover
Now you have 4 pieces for the journal
1 Quilted Journal Cover
1 Lining Piece
2 Inside Flaps Pieces
Place the pen loop - raw edges out
2" down from the top on the left side of the outside cover,
Stitch down 1/8" seam allowance
Finish the flaps (see photo below)
Fold the pieces in half WST - lengthwise
Stitch down 1/8" seam allowance
Finish the flaps (see photo below)
Fold the pieces in half WST - lengthwise
You can add a pocket to the flaps.
Measure the width x how deep you want them.
Sew 2 pieces RST across top and down one side.
Turn RS out, press
Place pocket onto flap…all raw edges to outside
Top Stitch down the folded edge of flap and pocket.
Review layered pieces
Quilted exterior piece is RSU
Flaps with or without pockets RSD
and raw edges to the outside.
Because the journal cover has "curved corners"
Draw a curved seam line 1/2” from each corner
as a guide when you are sewing it all together.
PIN all layers together!
Sew all around using 1/2” seam allowance
Leaving a couple inches at the side w/o pen holder for turning
Trim seams to 1/4” all around,
Clip the curves on corners
Turn project right side out!
TIP - I luv to use a "chop stick"
It is long and skinny to reach the corners easily
and not to pointy - helps avoid poking thru the seams.
Turn project right side out!
TIP - I luv to use a "chop stick"
It is long and skinny to reach the corners easily
and not to pointy - helps avoid poking thru the seams.
Top stitch 1/8” all around the project,
Exterior cover RS Up, catch the the opening to close it.
DONE
Slide the Composition book inside the flaps
TIP - fold the composition book outside covers
back together - away from pages
Then they will slide right into the cover!
If the book seems tight, remove and
trim the cardboard a little
Slide the composition book back into the cover.


I’m going to make one of these today! Thank you so much for this.
ReplyDelete