Monday, January 29, 2024

2024 BEGINS WITH A RETREAT

The Kwilty Girls!
Kim Hensley, Tami Pfeil, Lucinda Miller, Patty Estadt in pic.
 Kathy Guether/
me  (not pictured)


We have now been retreating for a couple years.
We meet each January, each August and have been trying
new retreat venues as we do.

This January we drove to Cincinnati, OH to
The Retreat House, Loveland, OH (suburb)


Of course the first thing we spotted was this 
wonderful welcome basket.
The white wine was in the fridge.

THAT RED Napa Valley QUILT WINE...is $40


We parked in the no parking zone to unload the easiest route into the house.
There was a garage for 2 cars and 3 could fit on the drive.
Also some street parking along the front of the house.


A wonderful retreat house that felt industrial warmed with wood.


Although there were 2 design walls...
I brought my own flannel wall and pinned it to a hanging quilt.


We moved the cutting tools to the dining room table.
Tami likes to STAND while sewing!


My feet hurt just watching her stand and sew!
That's my quilt with the hearts!


A couple ironing stations...this one had the full wool pressing mat!


Checkered tile design walls for pinning.
Kim is working on her heart quilt.


While Lucinda finished her first top on the other design wall.


Then Patty used the same OHIO Star design wall for this flannel STAR  beauty!


Then Kim reclaimed the surface for these fun Garden blocks.


Lucinda shared a quilted project she is piece-milling.


Patty utilizing the nice wool mat on the ironing board.


Kathy was sewing blocks for this amazing Xylophones quilt. 
It’s a pattern magazine but I dint remember what mag!

 
And I found my Featherweight was enjoying her space.


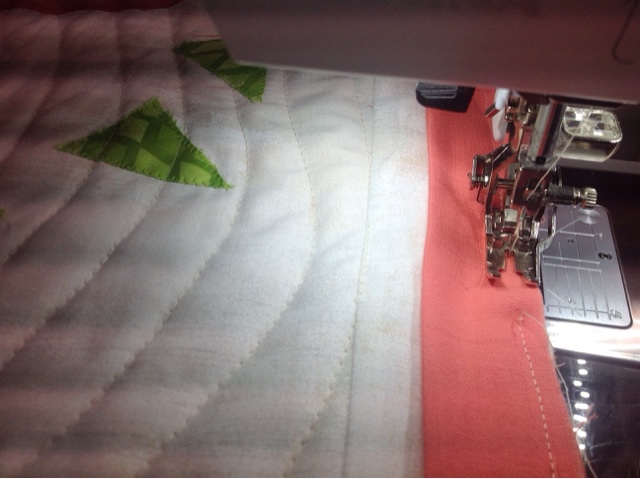
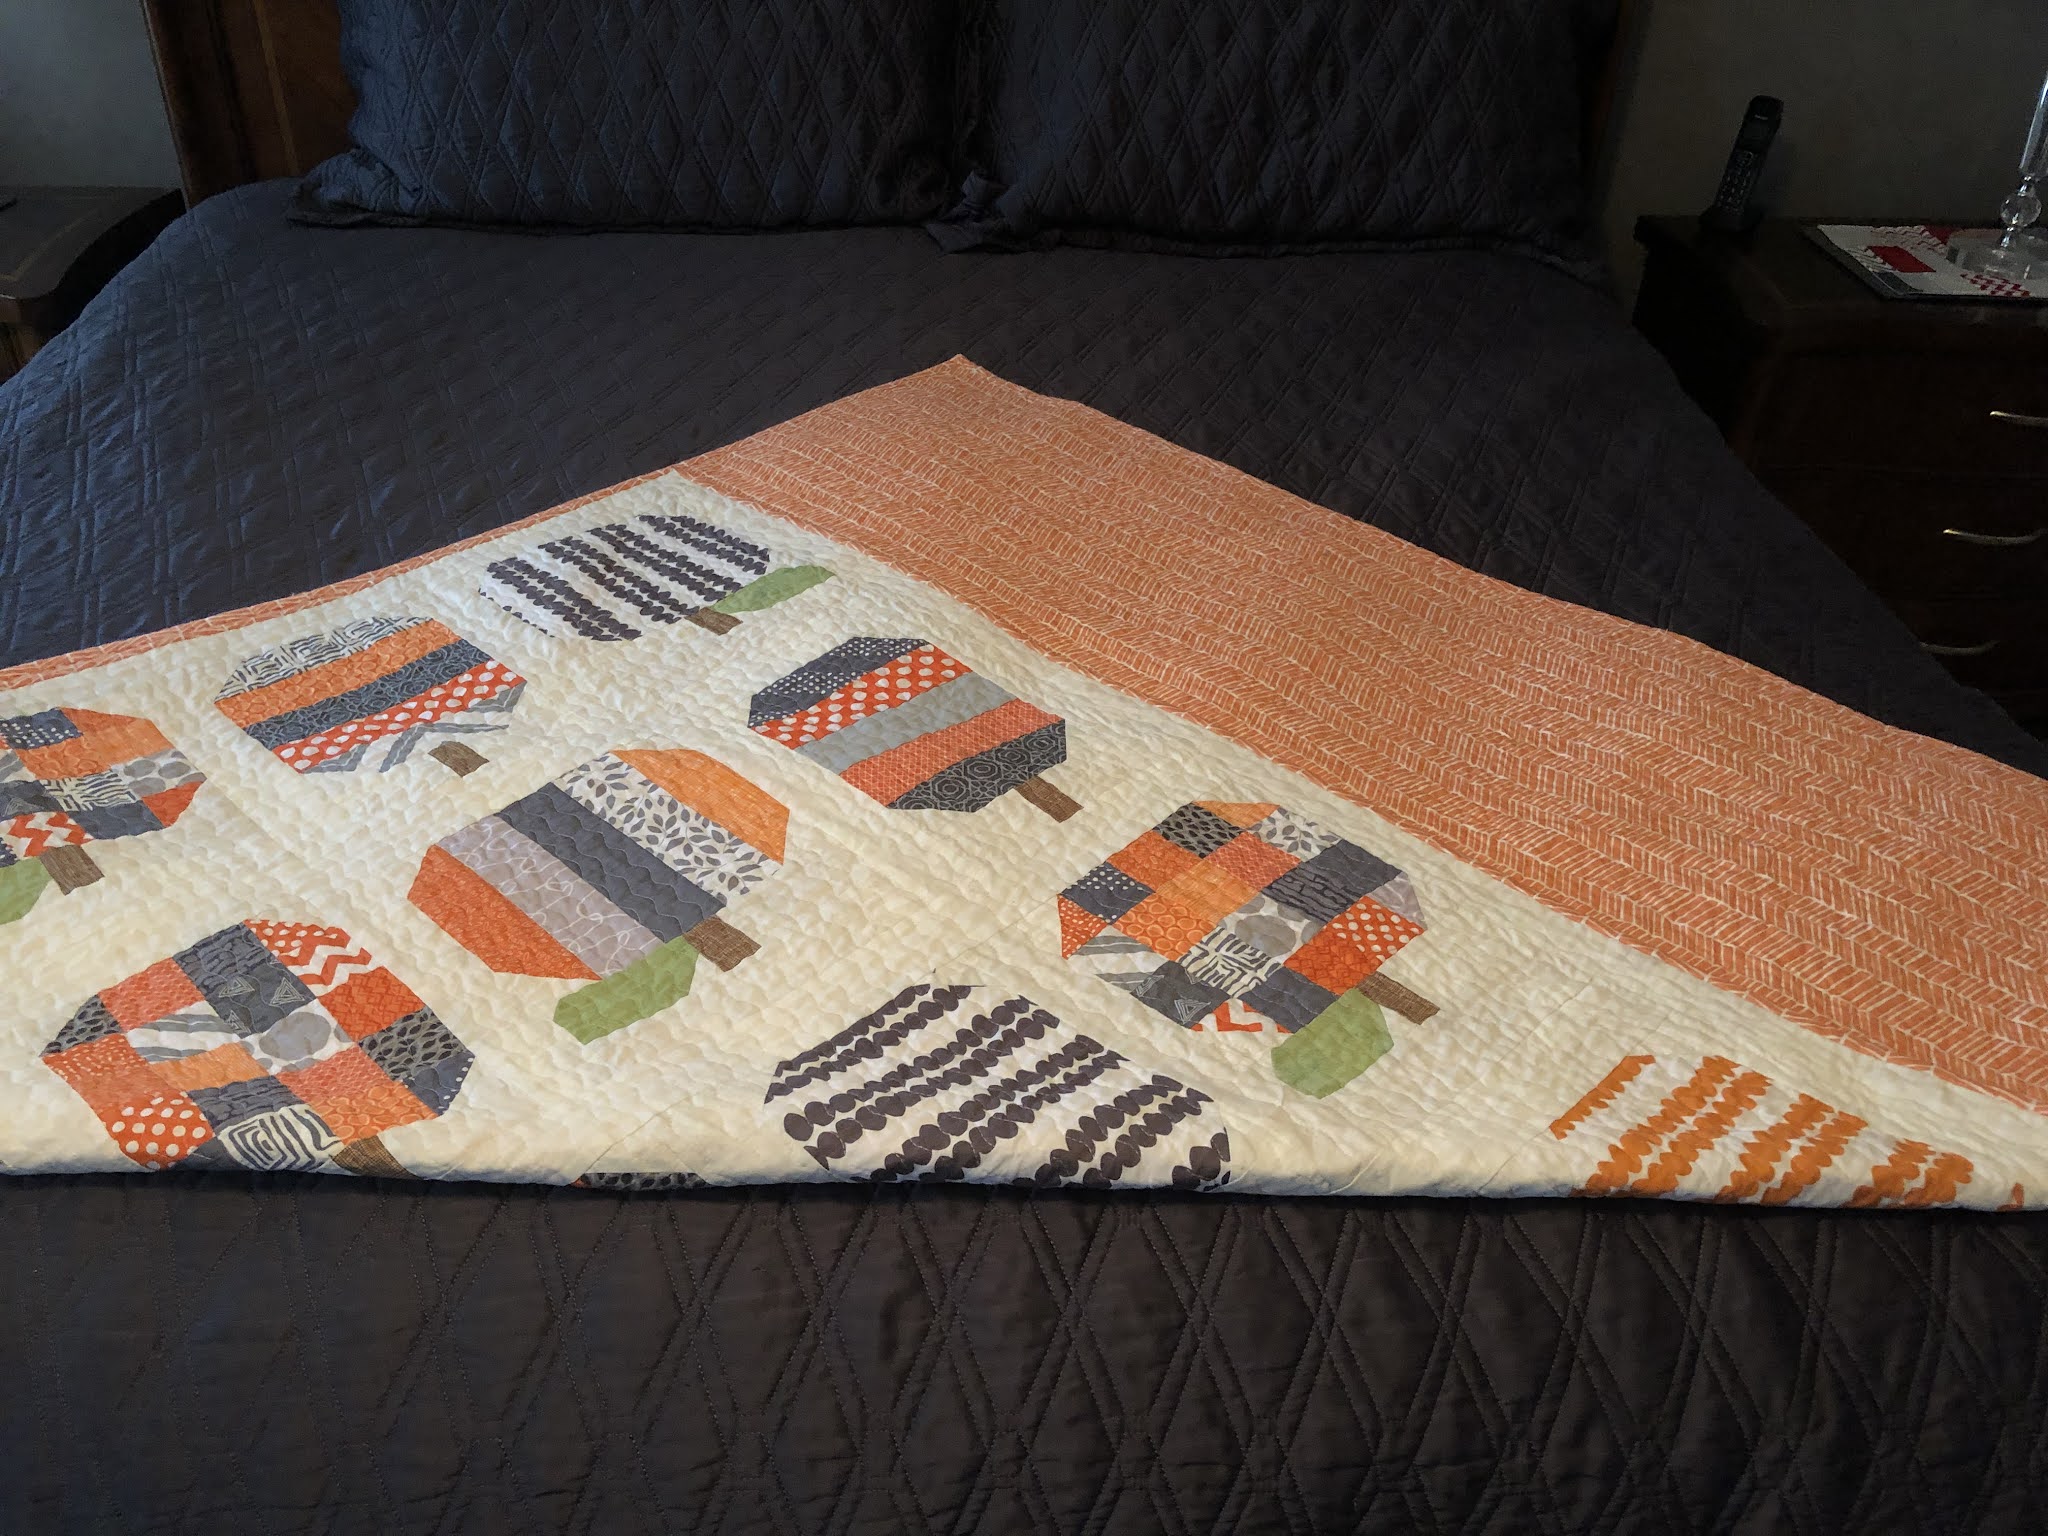
I did begin sewing a summer PICNIC quilt, pattern by Cluck Cluck Sew,
finishing them after I returned home.
 

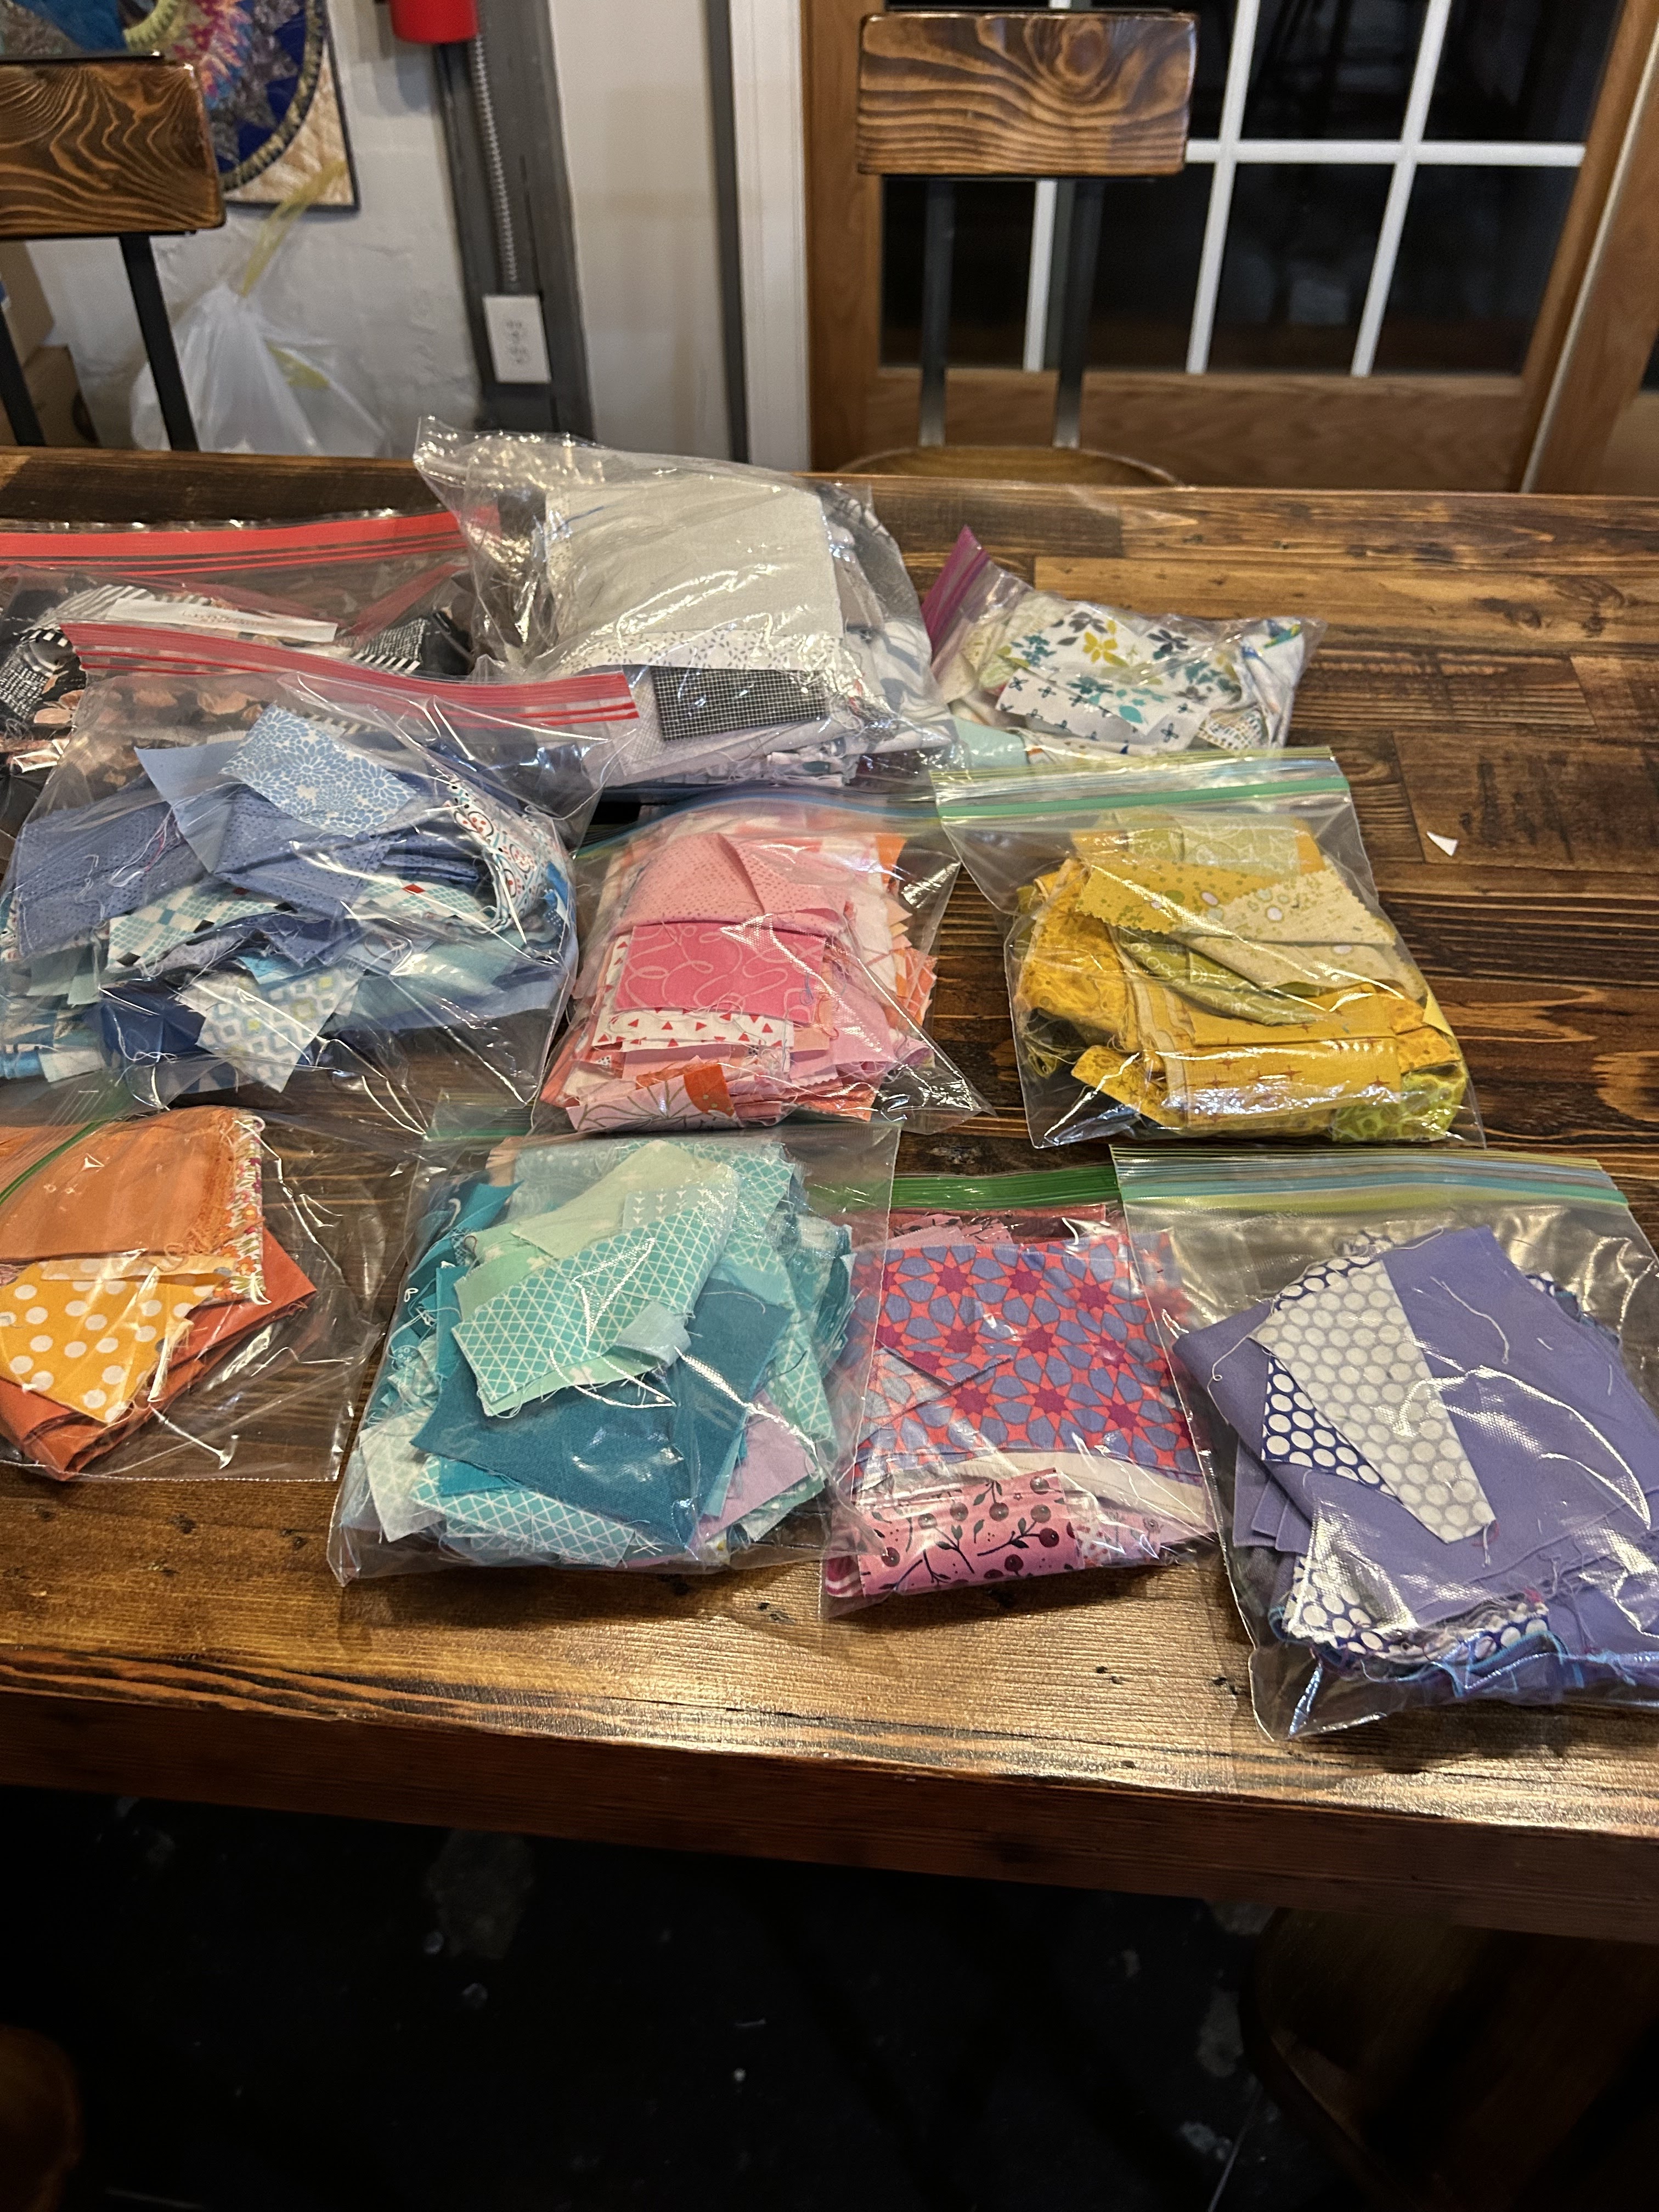
One of the quilt shops gave us a HUGE bag of scraps!
What a hoot!


We conquered and divided.


Lucinda needed some help sorting her Plaidish quilt scraps
into appropriate color piles.


Success!


And these are the remaining colors for Lucinda's stash.


And lucky Lucinda won the FQ Bingo!
in less than 5 minutes.  Apparently, we need to
revisit the actual rules!


We took a stroll around the cute area near the house.
Loveland, OH


Lots of restaurants we will investigate next trip!


We ate here at The Works, a couple times.
 Great sandwiches and Wood fired pizzas. 
The huge train car...is also restaurant seating!
 

We had such a fun time...we've already booked it again for
SUMMER 2025!

Where's you favorite place to retreat!


Tuesday, January 16, 2024

BINDING MITERED SEAM FINISH - TUTORIAL

Let's talk about making a beautiful
Mitered Seam Finish for Binding!
Don't loose me here...it's really very easy.
I make my binding 2 1/2" so these instructions are
written for that.  You can adjust to 2 1/4 by adjusting some
measurements as needed 

It's all about tails...binding tails!


Lay the binding down onto the quilt...
Leave a 10" loose tail and begin sewing to quilt
 at the 10" mark, back stitch to secure.

Sew all the binding on around the quilt.
When you get to the last edge of the quilt....
STOP sewing when there is 10" of open space and back stitch
Then cut another 10" tail.

See the white area....that's 10 inches of quilt
 with no binding sewn down.


Now your binding has two tails.  
One on each side of the white space.


Pull down the tails toward each other, pin them down snugly.
This is important to get a tight binding finish!


Fold back each tail (right and left sides) 
Leave a 1/4" space between the tails.


IF you use  2 1/2 " binding
Trim each tail to 1 1/4" out from each FOLD
(keep that 1/4" space centered)

IF you use 2 1/4" binding
Trim each tail to 1 1/8" out from each FOLD
(keep that 1/4" space centered)


Now THIS is the tricky part.   Fold the ends as if you were 
sewing binding strips Right SIDES together
PIN to avoid slipping.


Sew across at a diagonal...
just like sewing the binding strips together.
Lay the sewn piece out flat to make sure it is NOT twisted BEFORE you trim off to 1/4" seam!!!


Now flatten it out, press and sew it down to finish your binding.


THIS is the flat, mitered seam finish.  
trim off any dog ears as needed.
I prefer to "hand sew" the bindings 
for a beautiful finish. 
I have yet to see a machine sewn finish that looks pretty?


FLORENCE the Party Animal...she's been framed!


Let me know if you give these techniques a try
and how they work for you!

Friday, January 12, 2024

DIAGONAL QUILT FOLDING - TUTORIAL

Diagonal Quilt Folding Tutorial

After many trunk shows and demos 
I decided to write a quick tutorial on how to
and why I fold quilts on the diagonal.

When I do a trunk show for guilds or groups
I ask that members come to the tables after I am finished
and I show them how to fold and then let them help
me fold all the quilts I have just shown!

WHY ON THE DIAGONAL
This helps eliminate the deep folds that batting remembers and will help keep the quilts nice and flat. 


Step 1
Lay quilt on flat surface, top side down.
I like to use a bed.

Step 2
Bring one corner up to the top edge of the quilt.
If the quilt is a rectangle it is NOT a corner corner fold.
A square quilt will be a corner to opposite corner fold.


Step 3
Turn quilt so the fold is at the bottom.


Step 4
Fold top corner down 1/3 of the way


Step 5
Fold quilt down again lining up to the bottom fold 


Step 6
Fold one end point in to make edge square


Step 7
Repeat on other side


Step 8
Keep folding in from each side


Step 9
Continue folding quilt in from each side till both
sides reach the middle.


Step 10
One more fold in half to finish the folding.
All folds are now on the diagonal of the quilt 


TIPS:  Try standing your quilts on a closet shelf vs
laying one on top another.  This eliviates stacked weight
which also causes creasing.

Hope you try this!