Showing posts with label tutorials. Show all posts

Monday, March 16, 2026

WONKY FRAMES TUTORIAL

Sew you wanna get wonky? 
Me too!

Determine the size of the finished block 
Before you begin.
ie. pillow? mug rug? baby quilt blocks?

I am making ONE block for this tutorial that I want
a finished size to be around 16 or 16 1/2"


CUT 1 
12 1/2” square


For the top and bottom frame
Cut ONE 6” x 15” rectangle 

Cut the rectangle at a diagonal as shown here 
LEAVING 1” at each corner 
Bottom right to upper left diagonal cut!


Center as show here and sew using 1/4” seam allowance.


TRIM both sides


Cut ONE 6 x 18” rectangle on diagonal 
Same as above in 15” rectangle 


 Center 18” piece in each side.
Sew with 1/4” seam allowance


Press entire block using BEST PRESS
Trim to a square


My square was trimmed to 16 1/4”


Wednesday, June 4, 2025

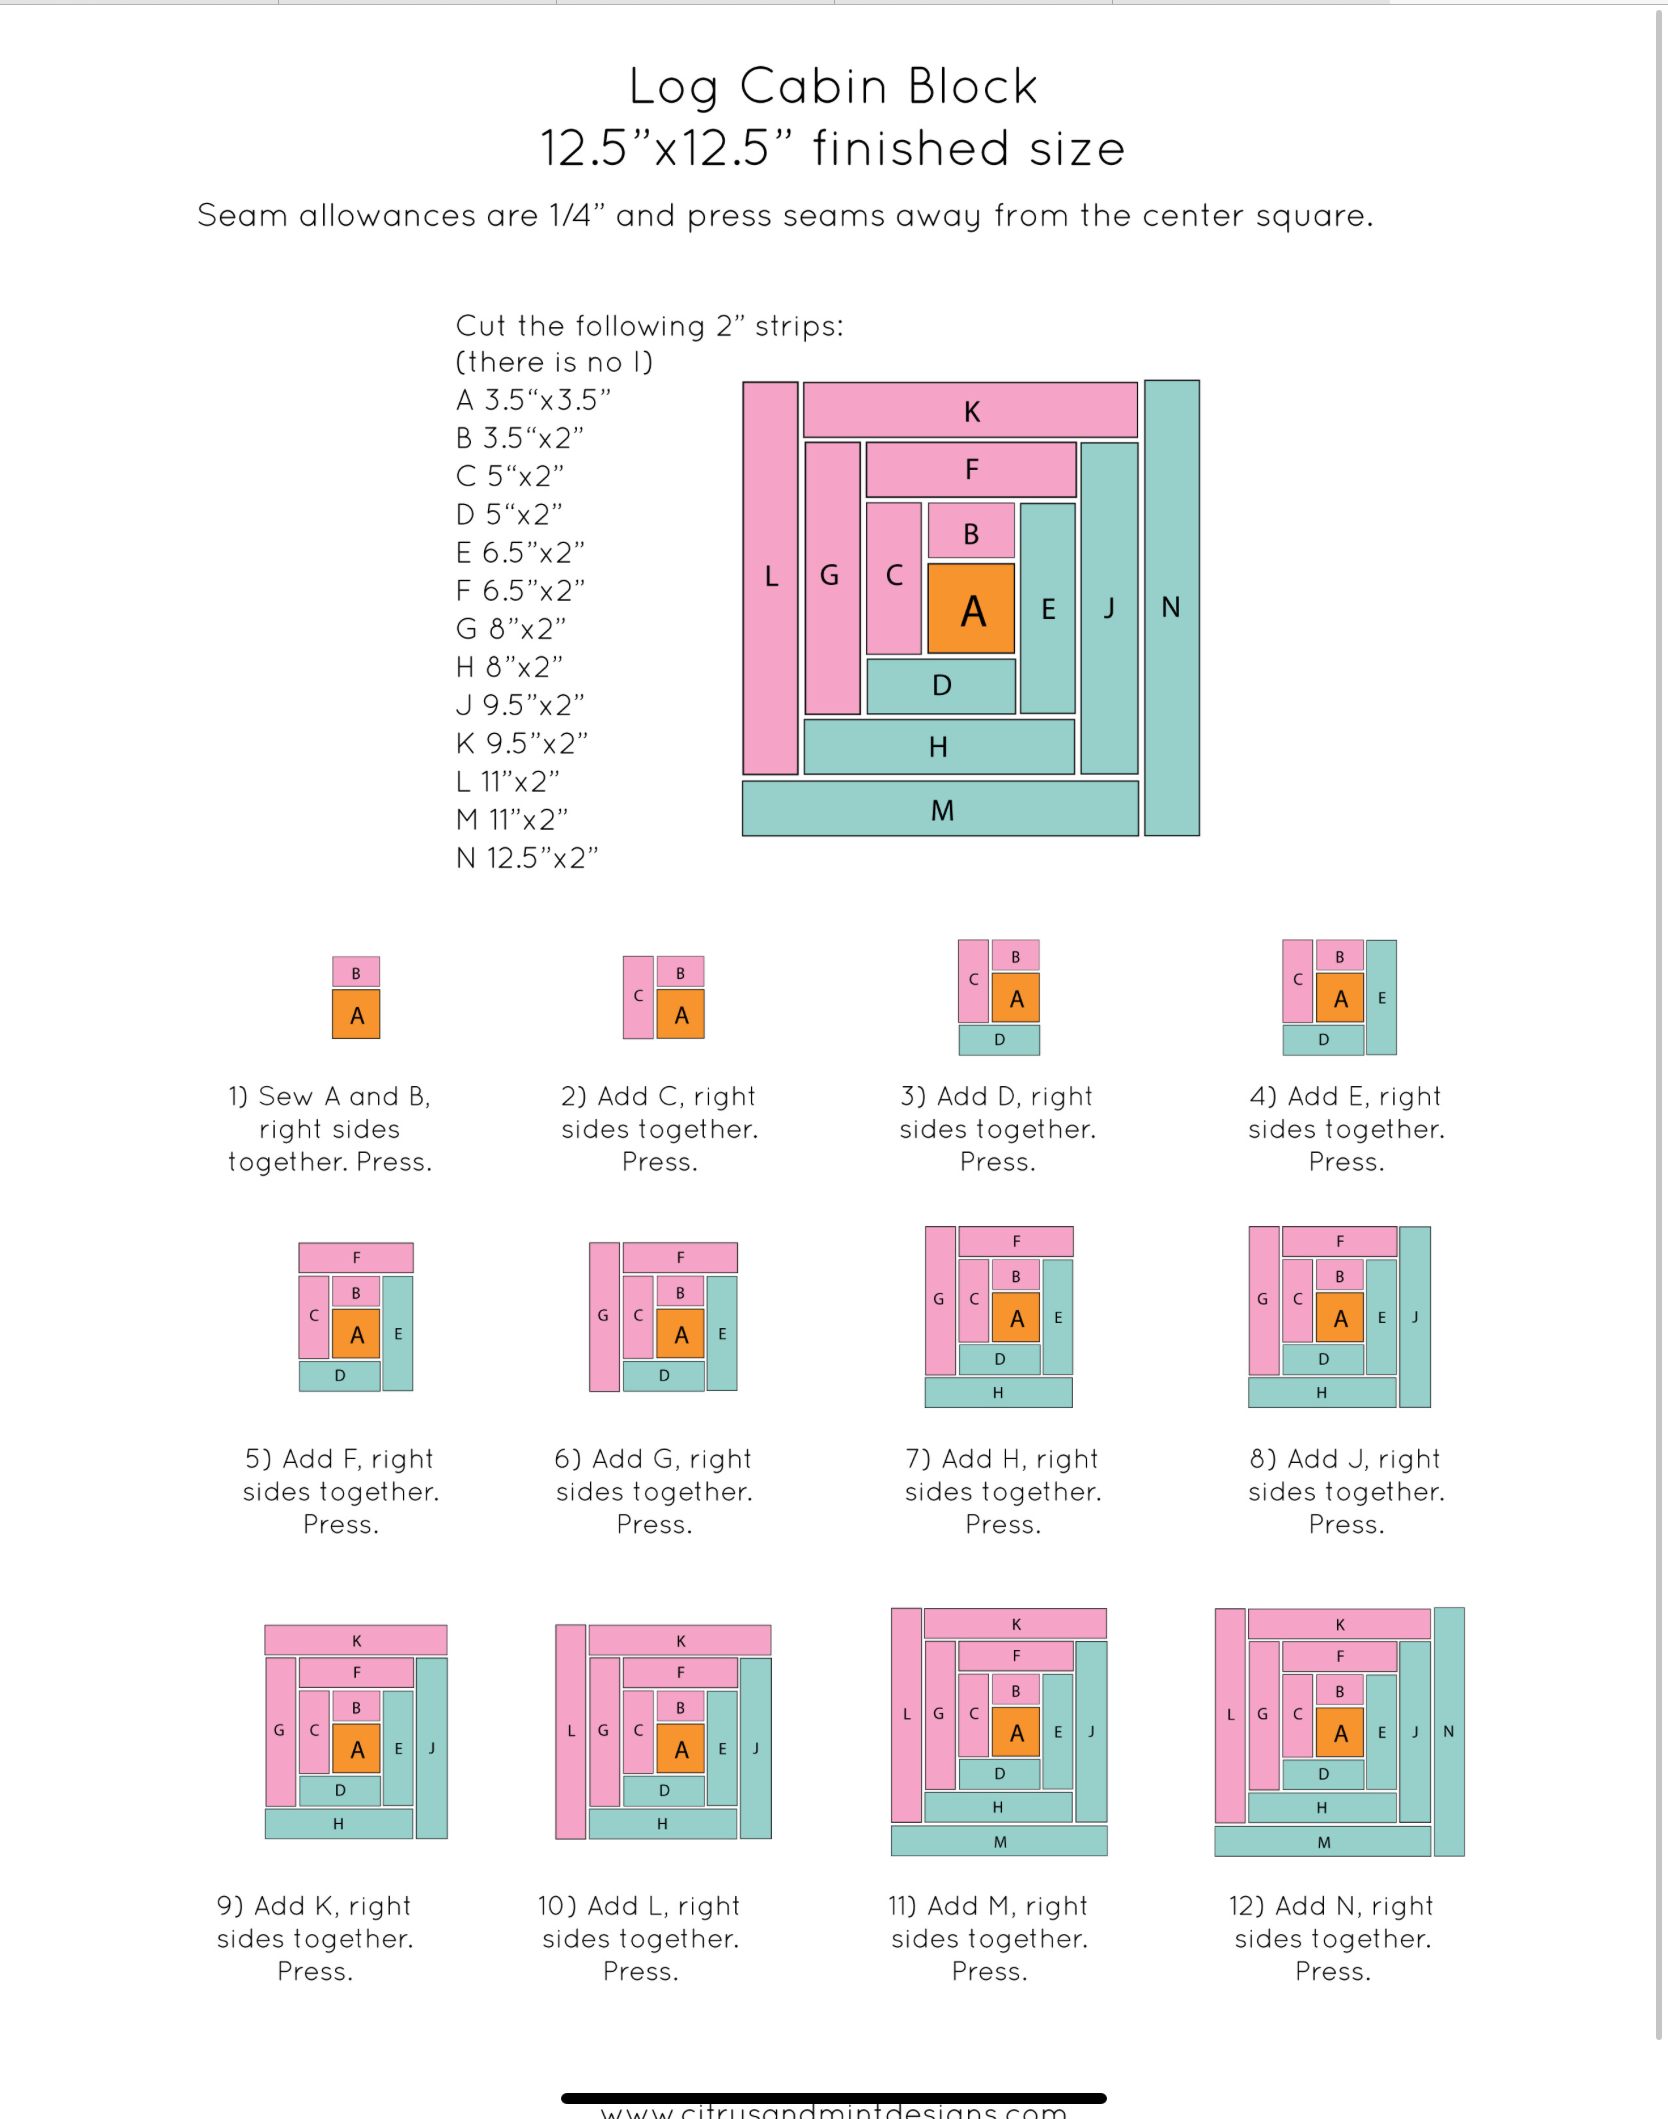
LOG CABIN BLOCKS - THREE WAYS

Gather some strips, scraps work just fine.
Let's take a look at THREE OPTIONS to make 
a log cabin block.


I keep a lot of 2 1/2" strips in my stash.


FIRST option is a Traditional Log Cabin Block

There are a lot of tutorials and cheat sheets on-line.
Like this one.


I cut my pieces in colors I like.


Make a mug rug!
Find a backing, layer and quilt


SECOND Option is QAYG (Quilt as you Go) technique

Grab a piece of batting an inch or two larger than
what you want the mug rug to be.
The backing of the mug rug can be one piece of fabric
Layer, Backing RS down, batting and pieces for top.

Begin with the center square (black) in the center of your batting
And one piece at a time sew around that block, Clockwise.


Sew one piece at a time, pressing after each piece.
This is a WONKY block so the pieces
are impromptu or NOT exact in size or shape.


Build it out to cover the entire batting.
Then trim to size it up.


Look how pretty and fun AND its quilted.
Just add binding.

THIRD option for log cabin blocks
is to make quarter log cabin blocks in a WONKY design.


Give them a try...but fair warning.
this can be habit forming.


Monday, December 23, 2024

PILLOWS FOR CHRISTMAS!

My son loves pillows for his sofa and he loves 
American Indian motifs.

Guess what he's getting for Christmas!

This one is envelope style.


The back with the envelope colsure.


And these two are my first attempt at 
Zippers for the closures.

Lord, why have I not tried this before?


Probably because I didn't have an excellent video tutorial to follow.
Thanks to Kim Hensley for sending me this one from
Sheri from a Quilting Life's tutorial link.


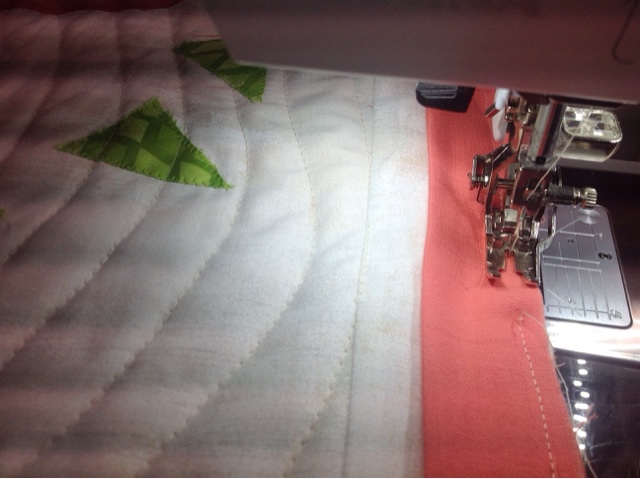
I didn't do the binding finish.
Just made the pieces about an inch larger
and sewed them RST with 1/2" seams.

Easy Peasy!

Give it a try...I'll never do an envelope style again!.


Tuesday, January 16, 2024

BINDING MITERED SEAM FINISH - TUTORIAL

Let's talk about making a beautiful
Mitered Seam Finish for Binding!
Don't loose me here...it's really very easy.
I make my binding 2 1/2" so these instructions are
written for that.  You can adjust to 2 1/4 by adjusting some
measurements as needed 

It's all about tails...binding tails!


Lay the binding down onto the quilt...
Leave a 10" loose tail and begin sewing to quilt
 at the 10" mark, back stitch to secure.

Sew all the binding on around the quilt.
When you get to the last edge of the quilt....
STOP sewing when there is 10" of open space and back stitch
Then cut another 10" tail.

See the white area....that's 10 inches of quilt
 with no binding sewn down.


Now your binding has two tails.  
One on each side of the white space.


Pull down the tails toward each other, pin them down snugly.
This is important to get a tight binding finish!


Fold back each tail (right and left sides) 
Leave a 1/4" space between the tails.


IF you use  2 1/2 " binding
Trim each tail to 1 1/4" out from each FOLD
(keep that 1/4" space centered)

IF you use 2 1/4" binding
Trim each tail to 1 1/8" out from each FOLD
(keep that 1/4" space centered)


Now THIS is the tricky part.   Fold the ends as if you were 
sewing binding strips Right SIDES together
PIN to avoid slipping.


Sew across at a diagonal...
just like sewing the binding strips together.
Lay the sewn piece out flat to make sure it is NOT twisted BEFORE you trim off to 1/4" seam!!!


Now flatten it out, press and sew it down to finish your binding.


THIS is the flat, mitered seam finish.  
trim off any dog ears as needed.
I prefer to "hand sew" the bindings 
for a beautiful finish. 
I have yet to see a machine sewn finish that looks pretty?


FLORENCE the Party Animal...she's been framed!


Let me know if you give these techniques a try
and how they work for you!

Friday, January 12, 2024

DIAGONAL QUILT FOLDING - TUTORIAL

Diagonal Quilt Folding Tutorial

After many trunk shows and demos 
I decided to write a quick tutorial on how to
and why I fold quilts on the diagonal.

When I do a trunk show for guilds or groups
I ask that members come to the tables after I am finished
and I show them how to fold and then let them help
me fold all the quilts I have just shown!

WHY ON THE DIAGONAL
This helps eliminate the deep folds that batting remembers and will help keep the quilts nice and flat. 


Step 1
Lay quilt on flat surface, top side down.
I like to use a bed.

Step 2
Bring one corner up to the top edge of the quilt.
If the quilt is a rectangle it is NOT a corner corner fold.
A square quilt will be a corner to opposite corner fold.


Step 3
Turn quilt so the fold is at the bottom.


Step 4
Fold top corner down 1/3 of the way


Step 5
Fold quilt down again lining up to the bottom fold 


Step 6
Fold one end point in to make edge square


Step 7
Repeat on other side


Step 8
Keep folding in from each side


Step 9
Continue folding quilt in from each side till both
sides reach the middle.


Step 10
One more fold in half to finish the folding.
All folds are now on the diagonal of the quilt 


TIPS:  Try standing your quilts on a closet shelf vs
laying one on top another.  This eliviates stacked weight
which also causes creasing.

Hope you try this!


Saturday, October 22, 2022

MODERN CHRISTMAS TREES


Yes you saw the finished top.
But I wanted to make sure you know
about the process and the free tutorial 
by Amy Smart, find it here!


But first, I made some sample blocks.
I will work this into a table runner for a Christmas Gift.


I love the tutorial that Amy Smart offers.
You can find it here.
She also has a You Tube Video that you will want to look up.

She talks about how to stack 6 fabrics
and cut them.  THEN by just
switching one tree fabric from bottom to the top...
you have 6 different trees!

I used my block boards to keep them organized
til I was ready to sew them.

4 Boards


6 fabrics / 6 trees on each board


Sew easy


My Hustle and Bustle was ON!


and the finished top!


It's being long arm quilted now and
will be ready for Christmas!